Troubleshooting MIGRATIONS_FAILED: missing tables or an incomplete schema on your branch
当通过仪表板创建预览分支时,它是通过将你的 main 分支的迁移历史在一个新数据库上重放来构建的。如果重放过程中失败了,分支要么会是空的,要么只完成了一部分,而且它的状态显示为 MIGRATIONS_FAILED。这几乎总是意味着 main 上的迁移历史与实际的在线模式不同步,通常是因为直接在 SQL 编辑器里或者通过其他手动修改做了更改,但这些更改从未被作为迁移文件记录下来。
🌐 When a Preview Branch is created through the Dashboard, it's built by replaying the migration history from your main branch against a fresh database. If that replay fails partway through, the branch is left either empty or partly complete and its status shows MIGRATIONS_FAILED. This almost always means the migration history on main is out of sync with its actual live schema, commonly because a change was made directly in the SQL Editor or through another manual edit that was never captured as a migration file.
按照以下步骤操作,诊断并修复你的迁移历史,这样分支才能顺利完成。
🌐 Work through the following steps to diagnose and repair your migration history so branching can complete successfully.
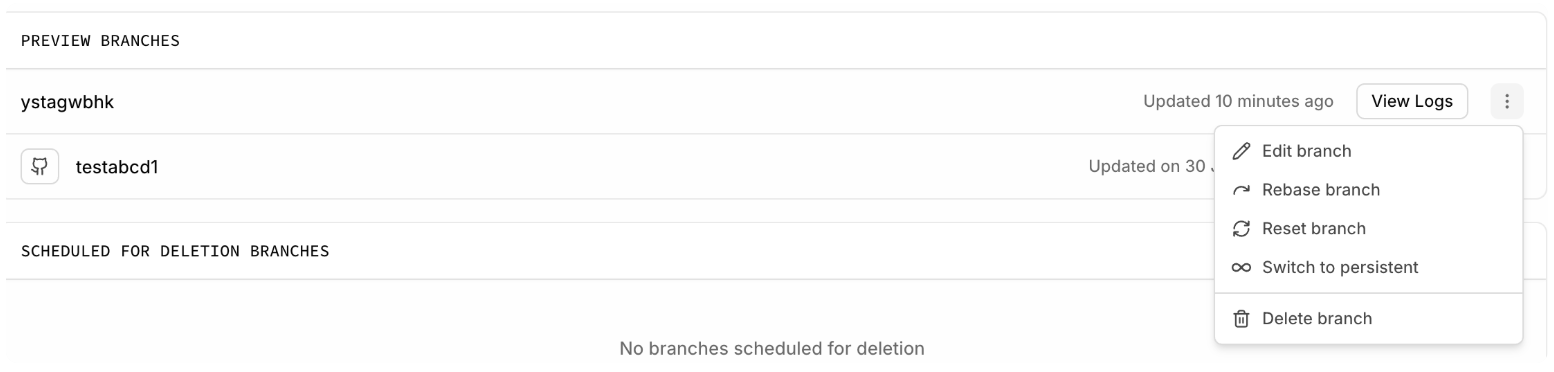
1. 确认分支失败并查看它的工作流程 #
🌐 1. Confirm the branch failure and view its workflow
- 去分支找出受影响的分支。
- 点击 查看日志。会弹出一个对话框,显示分支的创建工作流程,包括失败的步骤。

2. 在你的 Postgres 日志中找到确切的 SQL 错误 #
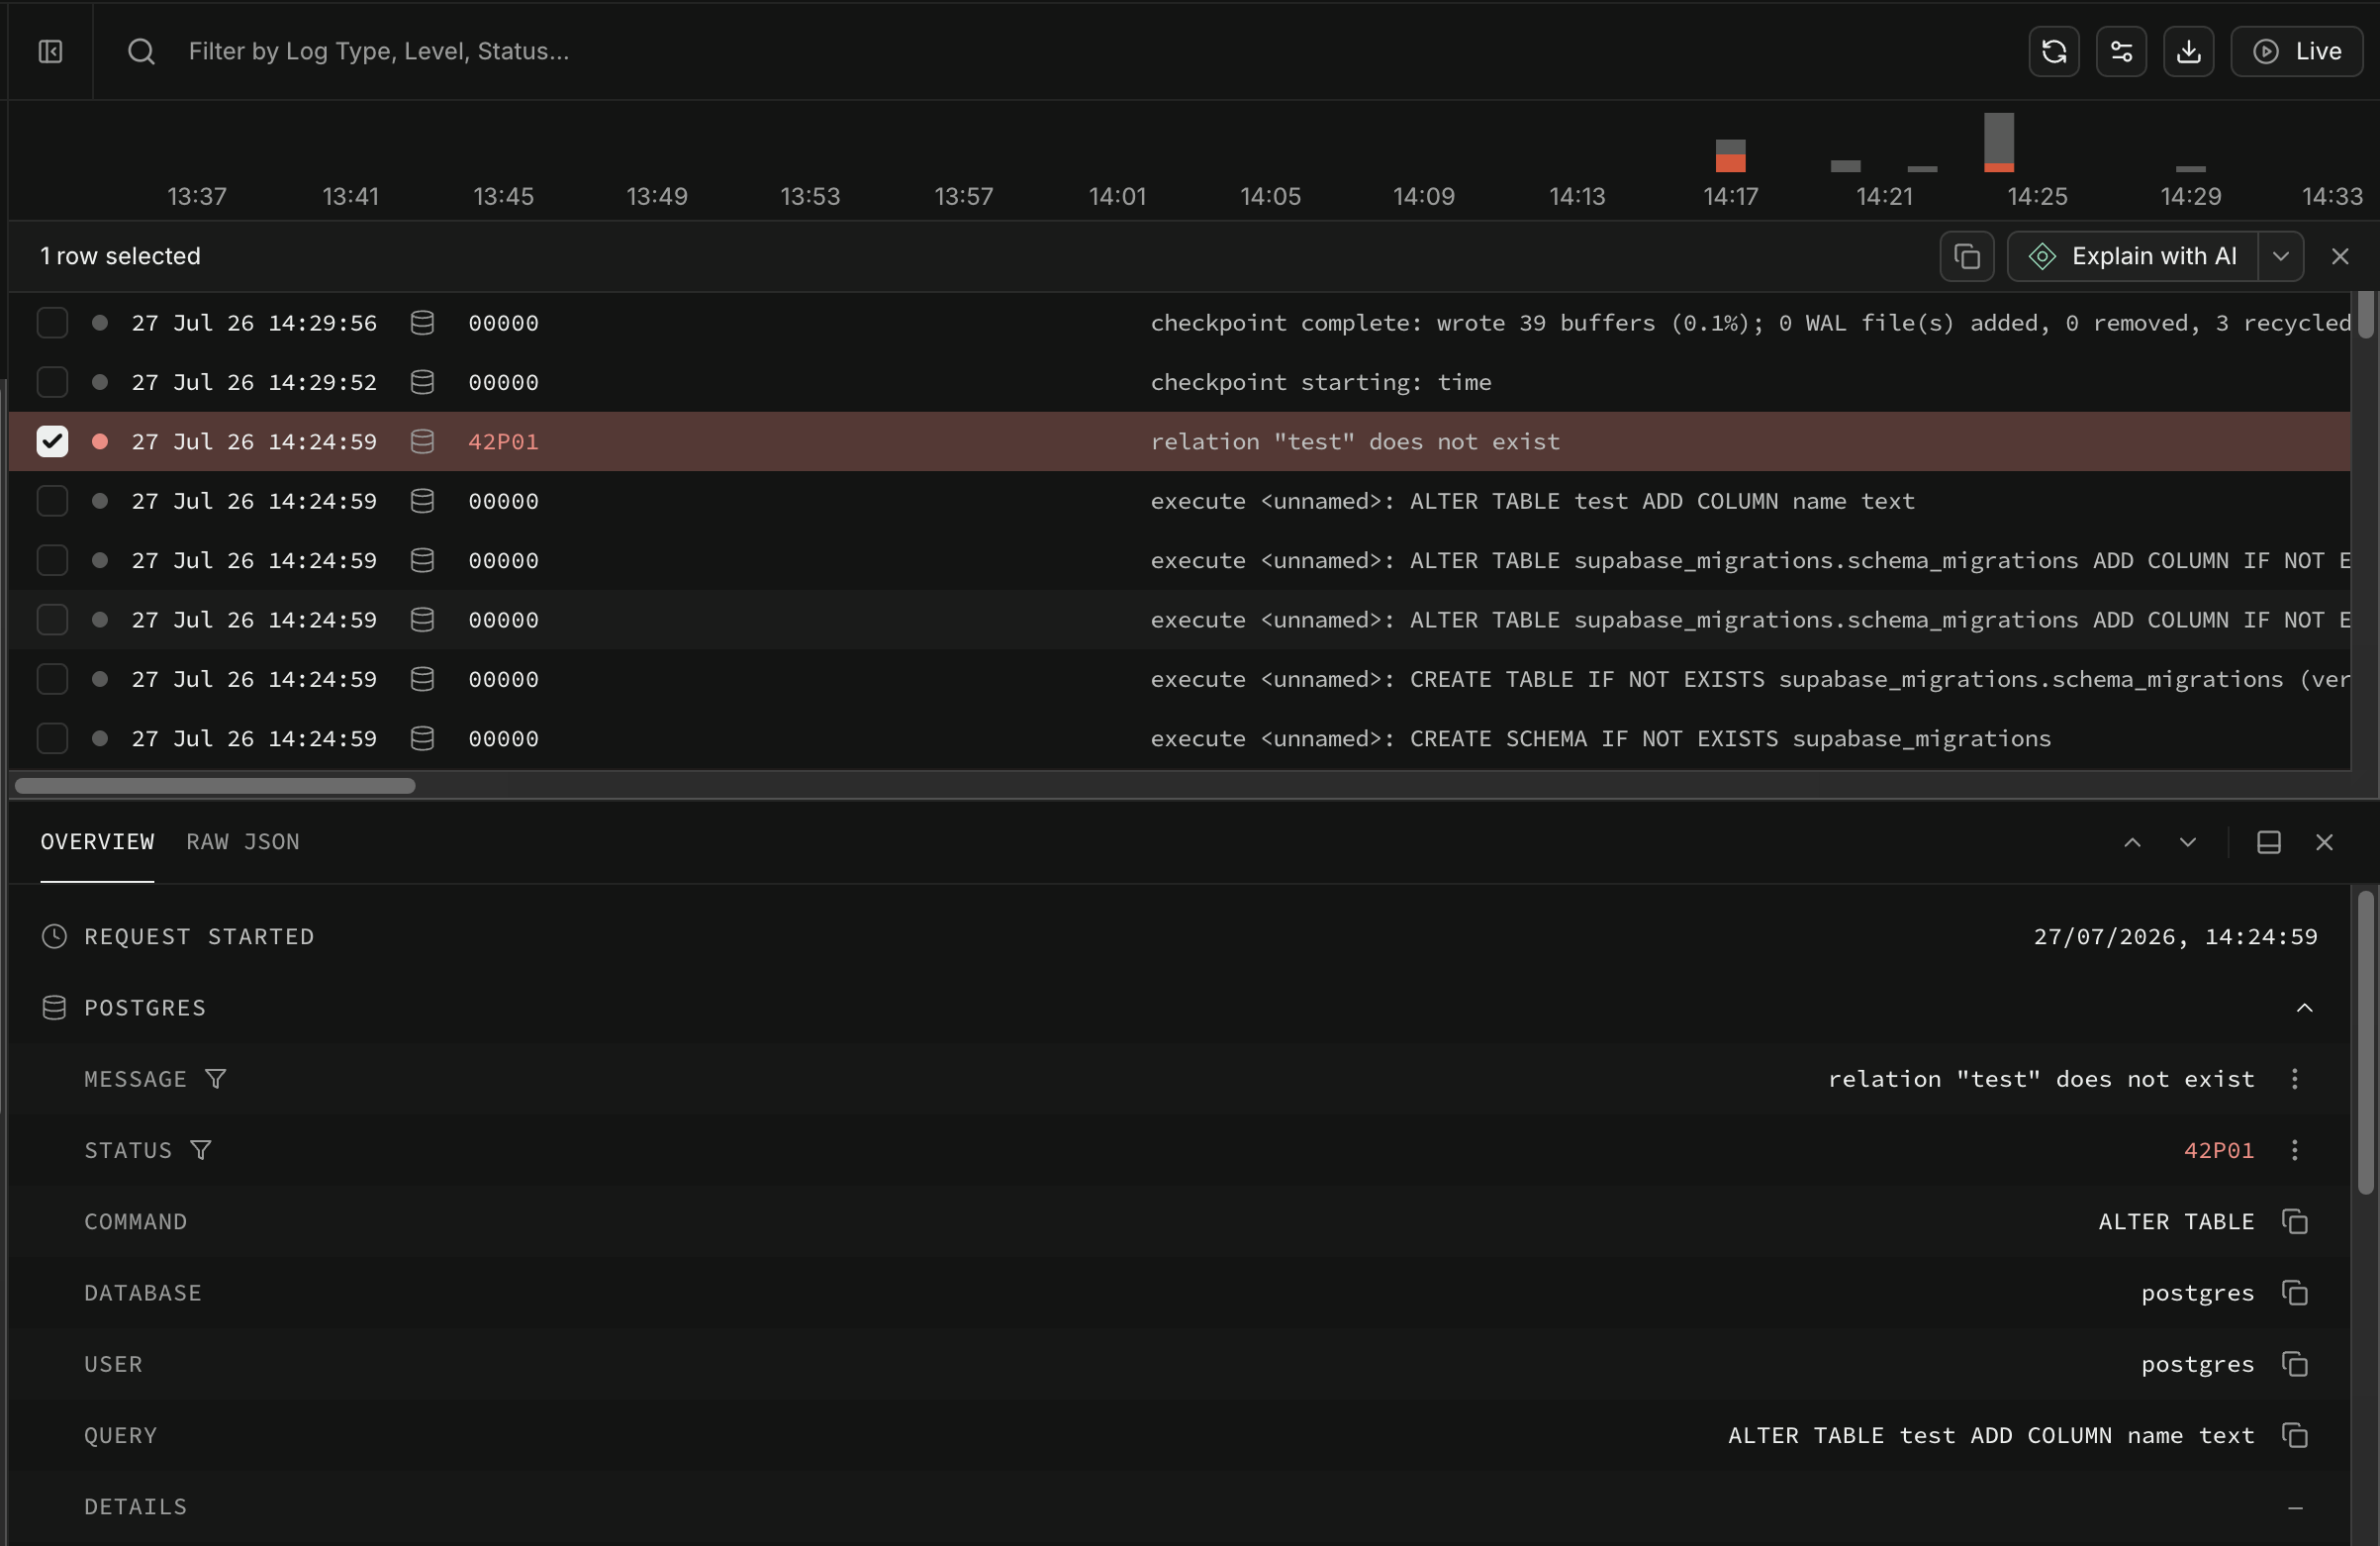
🌐 2. Find the exact SQL error in your Postgres logs
- 去 Postgres 日志。
- 查找以
execute <unnamed>:开头的条目。这些是正在重放的单个迁移语句。 - 找到标记为错误的条目,仪表板也会用红色标出。这就是失败的语句,它的消息会解释原因。常见的提示包括关系已存在、未找到列、权限被拒绝,以及关系不存在。
3. 准备本地 Supabase 环境 #
🌐 3. Prepare a local Supabase environment
如果你还没有,可以先按照本地开发入门指南操作,然后链接你的项目:
🌐 If you don't already have one, follow the local development getting started guide, then link your project:
1supabase link4. 拉取你的生产环境迁移历史 #
🌐 4. Pull down your production migration history
1supabase migration fetch这会获取当前记录在你的 main 分支上的迁移文件,这样你就可以把它们和实际的实时模式进行对比,找到导致失败的那个。
🌐 This retrieves the migration files currently recorded against your main branch, so you can compare them against the actual live schema and locate the one causing the failure.
5. 修复有问题的迁移 #
🌐 5. Repair the culprit migration
-
找到包含与你在第2步中发现的错误匹配的SQL语句的迁移文件,并修改它,使其反映你生产环境架构的真实状态。
-
修复文件后,用它的时间戳标记为已应用:
1supabase migration repair <timestamp> --status applied -
通过在仪表板中检查生产迁移来确认修复是否生效。
6. 重新测试分支创建 #
🌐 6. Re-test branch creation
修复迁移记录后,要么创建一个新分支,要么变基现有受影响的分支。
🌐 After repairing the migration history, either create a new branch or rebase the existing affected branch.
再次检查分支的工作流程日志,就像步骤1中描述的那样,确认迁移现在已成功完成。
🌐 Check the branch's workflow logs again, as described in step 1, to confirm migrations now complete successfully.
分支创建可能会失败不止一次,因为有多个迁移不同步。每次失败都会显示下一个问题,所以重复第2到第6步,一次处理一个问题。
🌐 Branch creation can fail more than once because more than one migration is out of sync. Each failure surfaces the next problem statement, so repeat steps 2 through 6 to work through them one at a time.
额外小贴士 #
🌐 Additional tips
如果在修复迁移历史后问题仍然存在,比如模式漂移或重复不匹配,请查看分支故障排除文档,并考虑使用supabase migration repair进行进一步手动修复。
🌐 If issues persist after repairing migration history, such as schema drift or repeated mismatches, review the branching troubleshooting documentation and consider further manual repair with supabase migration repair.
如果你的迁移历史已经偏离得太远,以至于修复单个迁移不再实际,考虑创建一个单一的基准迁移来封装你当前生产项目的数据库结构。新分支不复制数据库故障排除指南 会指导你如何设置这个。
🌐 If your migration history has drifted too far out of sync for repairing individual migrations to be practical, consider creating a single baseline migration that encapsulates your production project's current schema instead. The new branch doesn't copy database troubleshooting guide walks through the commands for setting this up.