Supabase 命令行工具
Develop locally, deploy to the Supabase Platform, and set up CI/CD workflows
Supabase CLI 让你可以在本地、你的电脑上或在 CI 环境中运行整个 Supabase 堆栈。只需两个命令,你就可以设置并启动一个新的本地项目:
🌐 The Supabase CLI enables you to run the entire Supabase stack locally, on your machine or in a CI environment. With two commands, you can set up and start a new local project:
supabase init用于创建一个新的本地项目supabase start启动 Supabase 服务
安装 CLI 有两种方法,它们会改变你输入的命令:
🌐 There are two ways to install the CLI, and they change the command you type:
- 使用
npm、pnpm或yarn作为 项目依赖 会将 CLI 安装到单个项目中(使用这种方法没有全局supabase命令)。请通过你的包管理器来运行它,例如npx supabase <command>。 - 使用 Homebrew、Scoop 或 Linux 软件包进行全局安装。以
supabase <command>身份运行命令。
无论哪种方式,CLI 都是项目作用域的:大多数命令(包括 start)都期望在已用 supabase init 初始化的目录中运行,该操作会创建 supabase/ 文件夹和 config.toml。先运行 init,然后在同一目录下运行其他命令。
🌐 Either way, the CLI is project-scoped: most commands (including start) expect to run inside a directory that has been initialized with supabase init, which creates the supabase/ folder and config.toml. Run init first, then the other commands from the same directory.
本页其余部分将例子写作 supabase <command>;如果你把 CLI 安装为项目依赖,请把它们翻译成 npx supabase <command>。
🌐 The rest of this page writes examples as supabase <command>; translate them to npx supabase <command> if you installed the CLI as a project dependency.
安装 Supabase CLI #
🌐 Installing the Supabase CLI
将 CLI 安装为项目开发依赖。这会把它添加到单个项目,而不是安装为全局命令:
🌐 Install the CLI as a project dev dependency. This adds it to a single project rather than installing a global command:
1npm install supabase --save-dev2# or: pnpm add -D supabase / yarn add -D supabase / bun add -D supabase在 package.json 中固定版本,这样你们整个团队就能使用相同的 CLI 版本。然后通过你的包管理工具运行每个命令:
🌐 Pin the version in package.json so your whole team uses the same CLI version. Then run every command through your package runner:
1npx supabase --help2# or: pnpm supabase / yarn supabase / bunx supabase通过 npx 或 npm 运行时,Supabase CLI 需要 Node.js 20 或更高版本。旧版本的 Node.js,比如 16,是不支持的,会启动失败。
🌐 The Supabase CLI requires Node.js 20 or later when run via npx or npm. Older Node.js versions, such as 16, are not supported and fail to start the CLI.
测试通道 #
🌐 Beta channel
预发布的 CLI 构建是从开发分支(X.Y.Z-beta.N 版本)发出的。使用 npm 的 beta dist-tag,或者通过 Homebrew / Scoop 安装 supabase-beta(与稳定版是不同的包)。
🌐 Pre-release CLI builds ship from the development branch (X.Y.Z-beta.N versions). Use the npm beta dist-tag, or install supabase-beta via Homebrew / Scoop (separate packages from stable).
作为开发依赖安装:
🌐 Install as a dev dependency:
1npm install supabase@beta --save-dev或者直接运行,无需安装:
🌐 Or run without installing:
1npx supabase@beta --help更新 Supabase CLI #
🌐 Updating the Supabase CLI
当有新版本发布时,你可以通过相同的渠道更新 CLI。
🌐 When a new version is released, you can update the CLI using the same channels.
如果你在本地运行了任何 Supabase 容器,请在进行升级前先停止它们并删除它们的数据卷。这样可以确保 Supabase 管理的服务在本地数据库的干净状态下应用新的迁移。
🌐 If you have any Supabase containers running locally, stop them and delete their data volumes before proceeding with the upgrade. This ensures that Supabase managed services can apply new migrations on a clean state of the local database.
备份并停止正在运行的容器
记得在停止之前保存任何本地的架构和数据更改,因为 --no-backup 标志会删除它们。
🌐 Remember to save any local schema and data changes before stopping because the --no-backup flag will delete them.
1supabase db diff -f my_schema2supabase db dump --local --data-only > supabase/seed.sql3supabase stop --no-backup本地运行 Supabase 项目 #
🌐 Running a local Supabase project
你用 CLI 最常做的事情就是在你自己的电脑上运行完整的 Supabase 栈(Postgres、Auth、Storage 以及其他服务)。这个栈是在 Docker 容器里运行的,所以你首先需要安装一个容器运行环境。按照官方指南在你的电脑上安装和配置 Docker Desktop 吧。
🌐 The most common thing you'll do with the CLI is run the full Supabase stack (Postgres, Auth, Storage, and the rest) on your own machine. That stack runs in Docker containers, so you need a container runtime installed first. Follow the official guide to install and configure Docker Desktop on your machine.
或者,你可以使用提供 Docker 兼容 API 的其他容器工具。
🌐 Alternately, you can use a different container tool that offers Docker compatible APIs.
- Rancher Desktop(macOS、Windows、Linux)
- Podman(macOS、Windows、Linux)
- OrbStack(macOS)
- colima(macOS)
在容器运行时,进入你想创建项目的文件夹,然后初始化它:
🌐 With a container runtime running, go to the folder where you want to create your project and initialize it:
1supabase init这会创建一个新的 supabase 文件夹。把这个文件夹提交到版本控制是安全的。
🌐 This creates a new supabase folder. It's safe to commit this folder to version control.
现在,从同一个文件夹启动 Supabase 套件吧:
🌐 Now, from the same folder, start the Supabase stack:
1supabase start如果你把 CLI 安装为项目依赖(npm、pnpm、yarn 或 bun),请改为以 npx supabase init 和 npx supabase start 运行它们。参见上面的说明。
🌐 If you installed the CLI as a project dependency (npm, pnpm, yarn, or bun), run these as npx supabase init and npx supabase start instead. See the note above.
第一次运行时会花一些时间,因为 CLI 需要把 Docker 镜像下载到本地。CLI 包含整个 Supabase 堆栈,还有一些对本地开发有用的额外镜像(比如本地 SMTP 服务器和数据库差异工具)。
🌐 This takes time on your first run because the CLI needs to download the Docker images to your local machine. The CLI includes the entire Supabase stack, and a few additional images useful for local development (like a local SMTP server and a database diff tool).
访问你项目的服务 #
🌐 Access your project's services
一旦所有 Supabase 服务都在运行,你会看到包含你本地 Supabase 凭证的输出。它应该看起来像下面这样,里面有你在本地项目中使用的 URL 和密钥:
🌐 Once all the Supabase services are running, you'll see output containing your local Supabase credentials. It should look like the below, with urls and keys that you use in your local project:
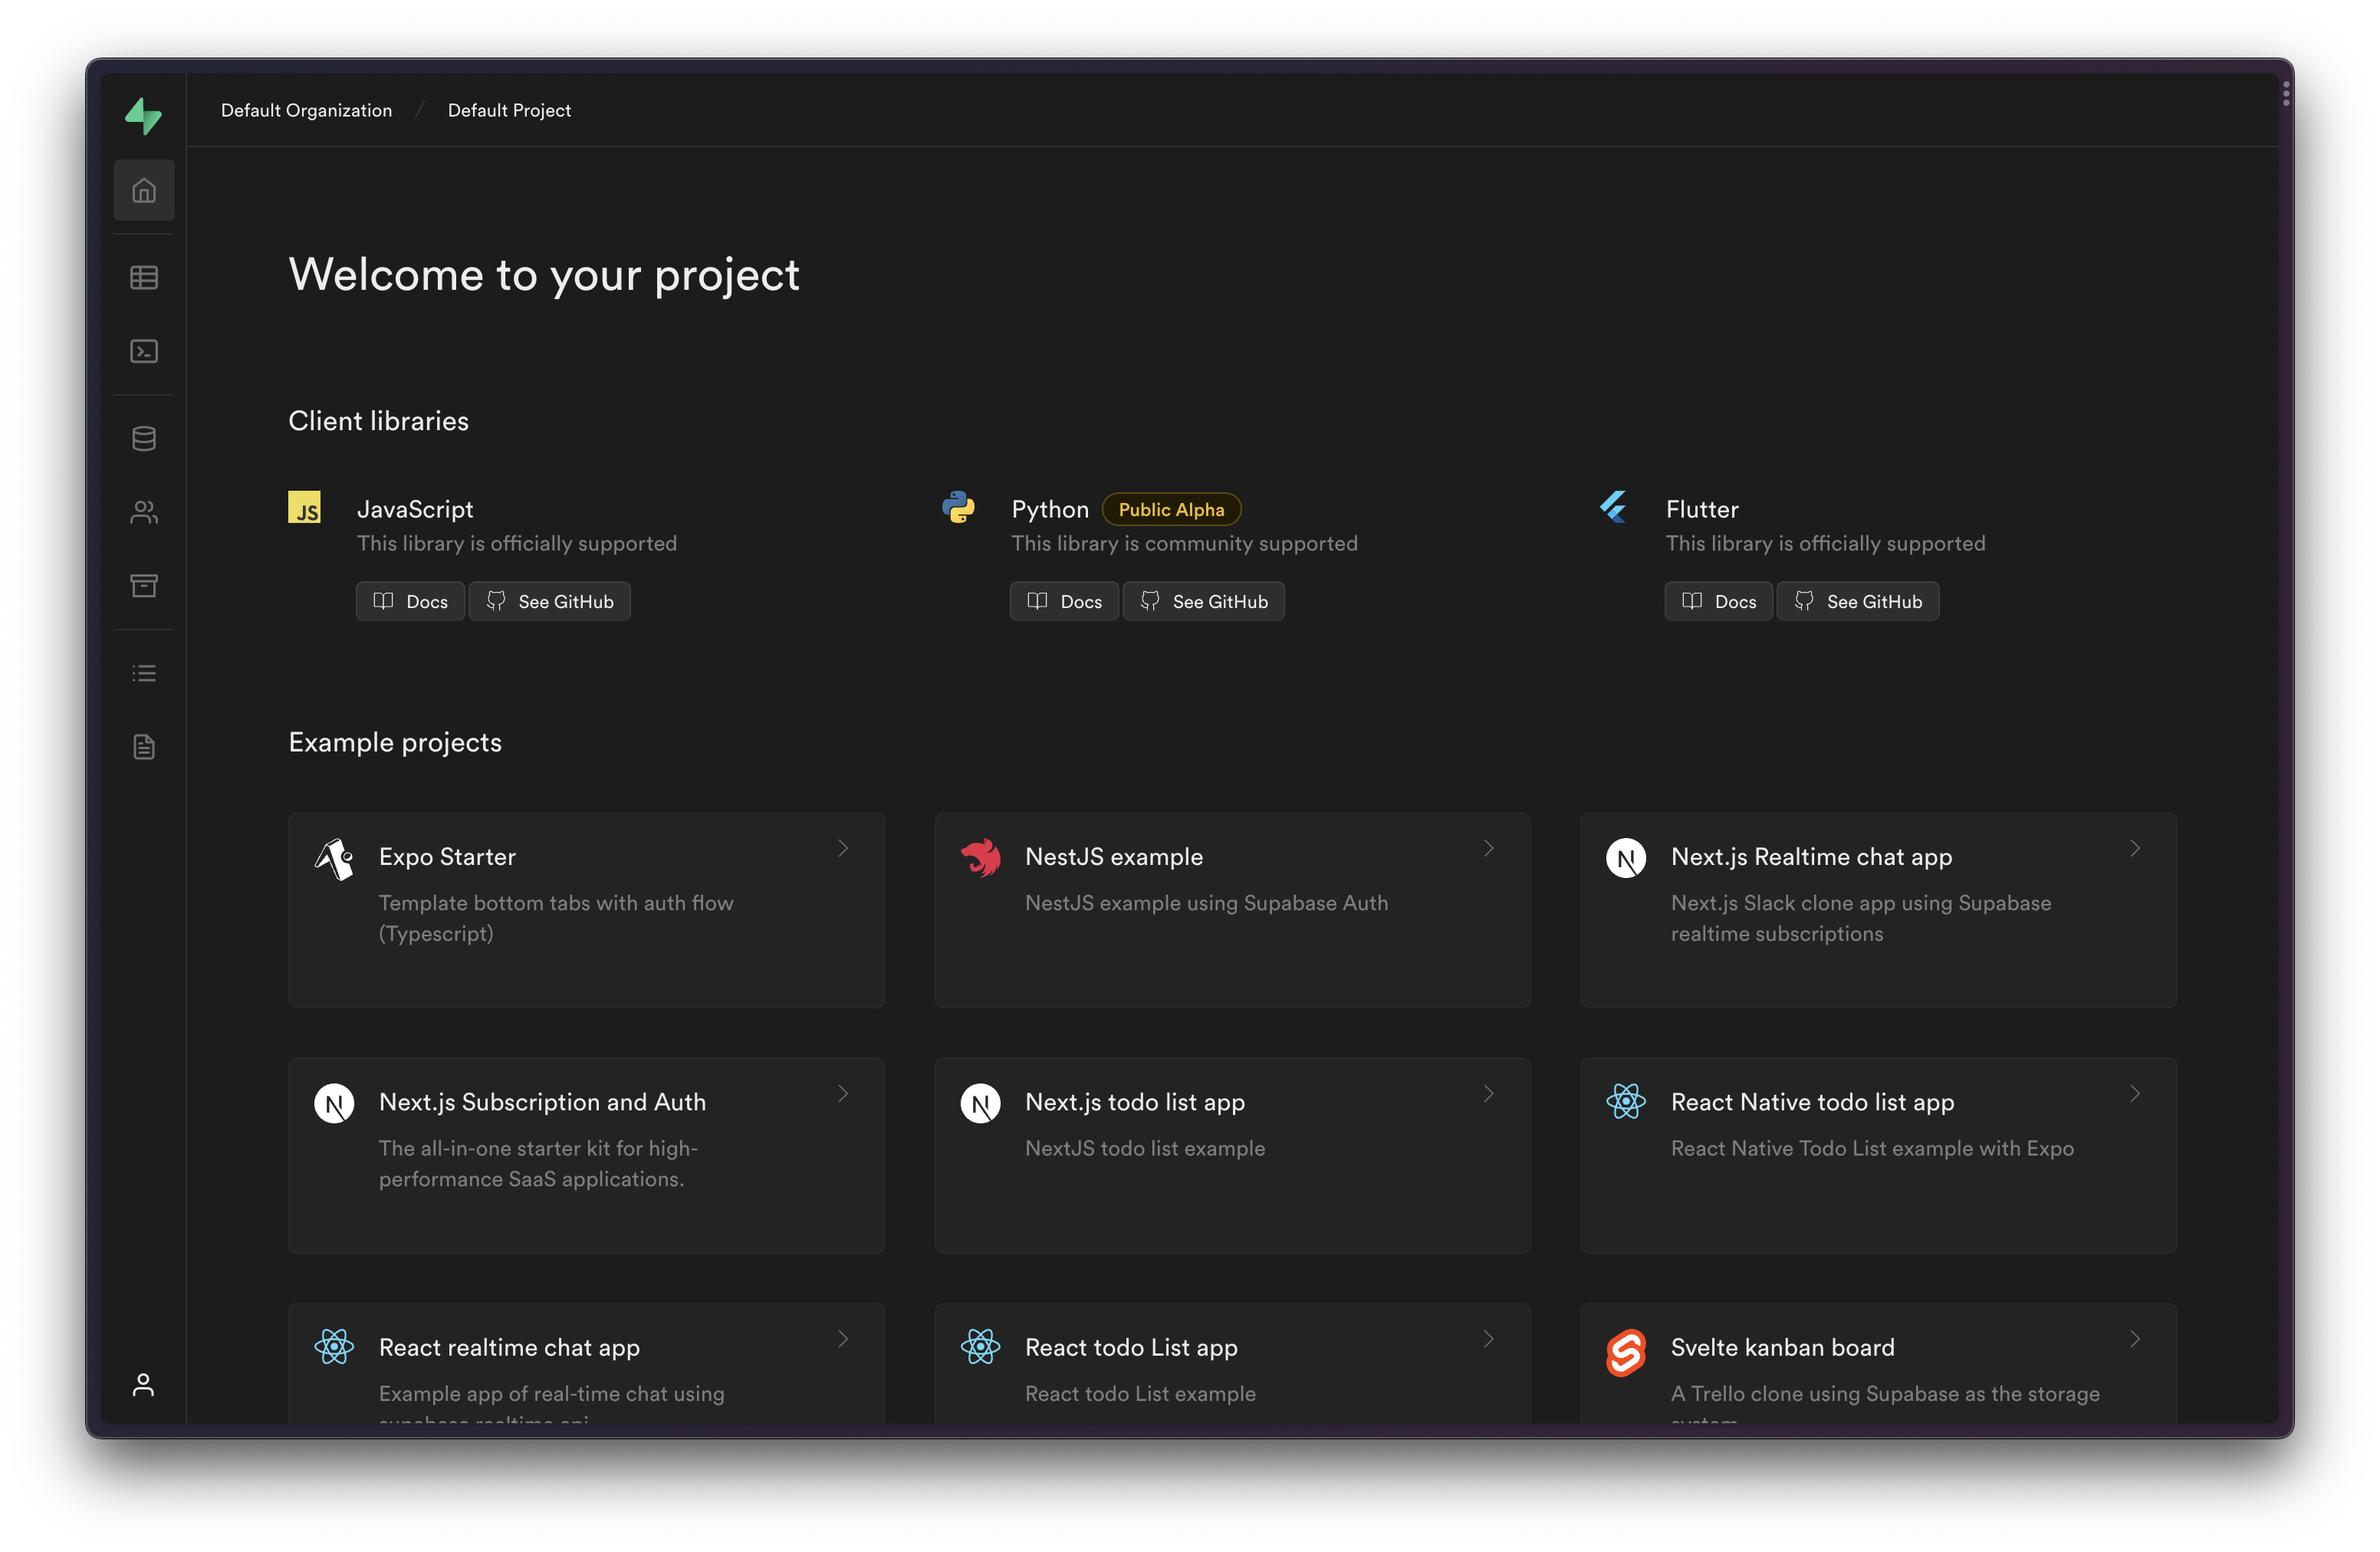
1Started supabase local development setup.23╭──────────────────────────────────────╮4│ 🔧 Development Tools │5├─────────┬────────────────────────────┤6│ Studio │ http://127.0.0.1:54323 │7│ Mailpit │ http://127.0.0.1:54324 │8│ MCP │ http://127.0.0.1:54321/mcp │9╰─────────┴────────────────────────────╯1011╭──────────────────────────────────────────────────────╮12│ 🌐 APIs │13├────────────────┬─────────────────────────────────────┤14│ Project URL │ http://127.0.0.1:54321 │15│ REST │ http://127.0.0.1:54321/rest/v1 │16│ GraphQL │ http://127.0.0.1:54321/graphql/v1 │17│ Edge Functions │ http://127.0.0.1:54321/functions/v1 │18╰────────────────┴─────────────────────────────────────╯1920╭───────────────────────────────────────────────────────────────╮21│ ⛁ Database │22├─────┬─────────────────────────────────────────────────────────┤23│ URL │ postgresql://postgres:postgres@127.0.0.1:54322/postgres │24╰─────┴─────────────────────────────────────────────────────────╯2526╭──────────────────────────────────────────────────────────────╮27│ 🔑 Authentication Keys │28├─────────────┬────────────────────────────────────────────────┤29│ Publishable │ sb_publishable_... │30│ Secret │ sb_secret_... │31╰─────────────┴────────────────────────────────────────────────╯1# Default URL:2http://localhost:54323本地开发环境包括 Supabase Studio,它是一个用于操作数据库的图形界面。
🌐 The local development environment includes Supabase Studio, a graphical interface for working with your database.
停止本地服务 #
🌐 Stopping local services
当你完成 Supabase 项目工作时,你可以停止堆栈(不会重置本地数据库):
🌐 When you are finished working on your Supabase project, you can stop the stack (without resetting your local database):
1supabase stop遥测 #
🌐 Telemetry
Supabase CLI 会收集有关一般使用情况的遥测数据。参与这个计划是可选的,你可以随时选择退出。
🌐 The Supabase CLI collects telemetry data about general usage. Participating in this program is optional, and you can opt out at any time.
如何退出 #
🌐 How to opt out
你可以通过运行以下命令来禁用遥测:
🌐 You can disable telemetry by running:
1supabase telemetry disable你可以查看当前状态并重新启用:
🌐 You can check the current status and re-enable with:
1supabase telemetry status2supabase telemetry enable你也可以通过使用 SUPABASE_TELEMETRY_DISABLED=1 环境变量选择退出。更广泛的 DO_NOT_TRACK=1 约定同样会被遵守。
🌐 You can also opt out using the SUPABASE_TELEMETRY_DISABLED=1 environment variable. The broader DO_NOT_TRACK=1 convention is also respected.
了解更多 #
🌐 Learn more