谷歌 Colab
Use Google Colab to manage your Supabase Vector store.

Google Colab 是一个托管的 Jupyter Notebook 服务。它提供免费的计算资源,包括 GPU 和 TPU,非常适合机器学习、数据科学和教育。我们可以使用 Colab 来管理使用 Supabase Vecs 的集合。
🌐 Google Colab is a hosted Jupyter Notebook service. It provides free access to computing resources, including GPUs and TPUs, and is well-suited to machine learning, data science, and education. We can use Colab to manage collections using Supabase Vecs.
在本教程中,我们将连接到运行在 Supabase 平台上的数据库。如果你还没有数据库,可以在这里创建一个:database.new。
🌐 In this tutorial we'll connect to a database running on the Supabase platform. If you don't already have a database, you can create one here: database.new.
创建一个新注意本 #
🌐 Create a new notebook
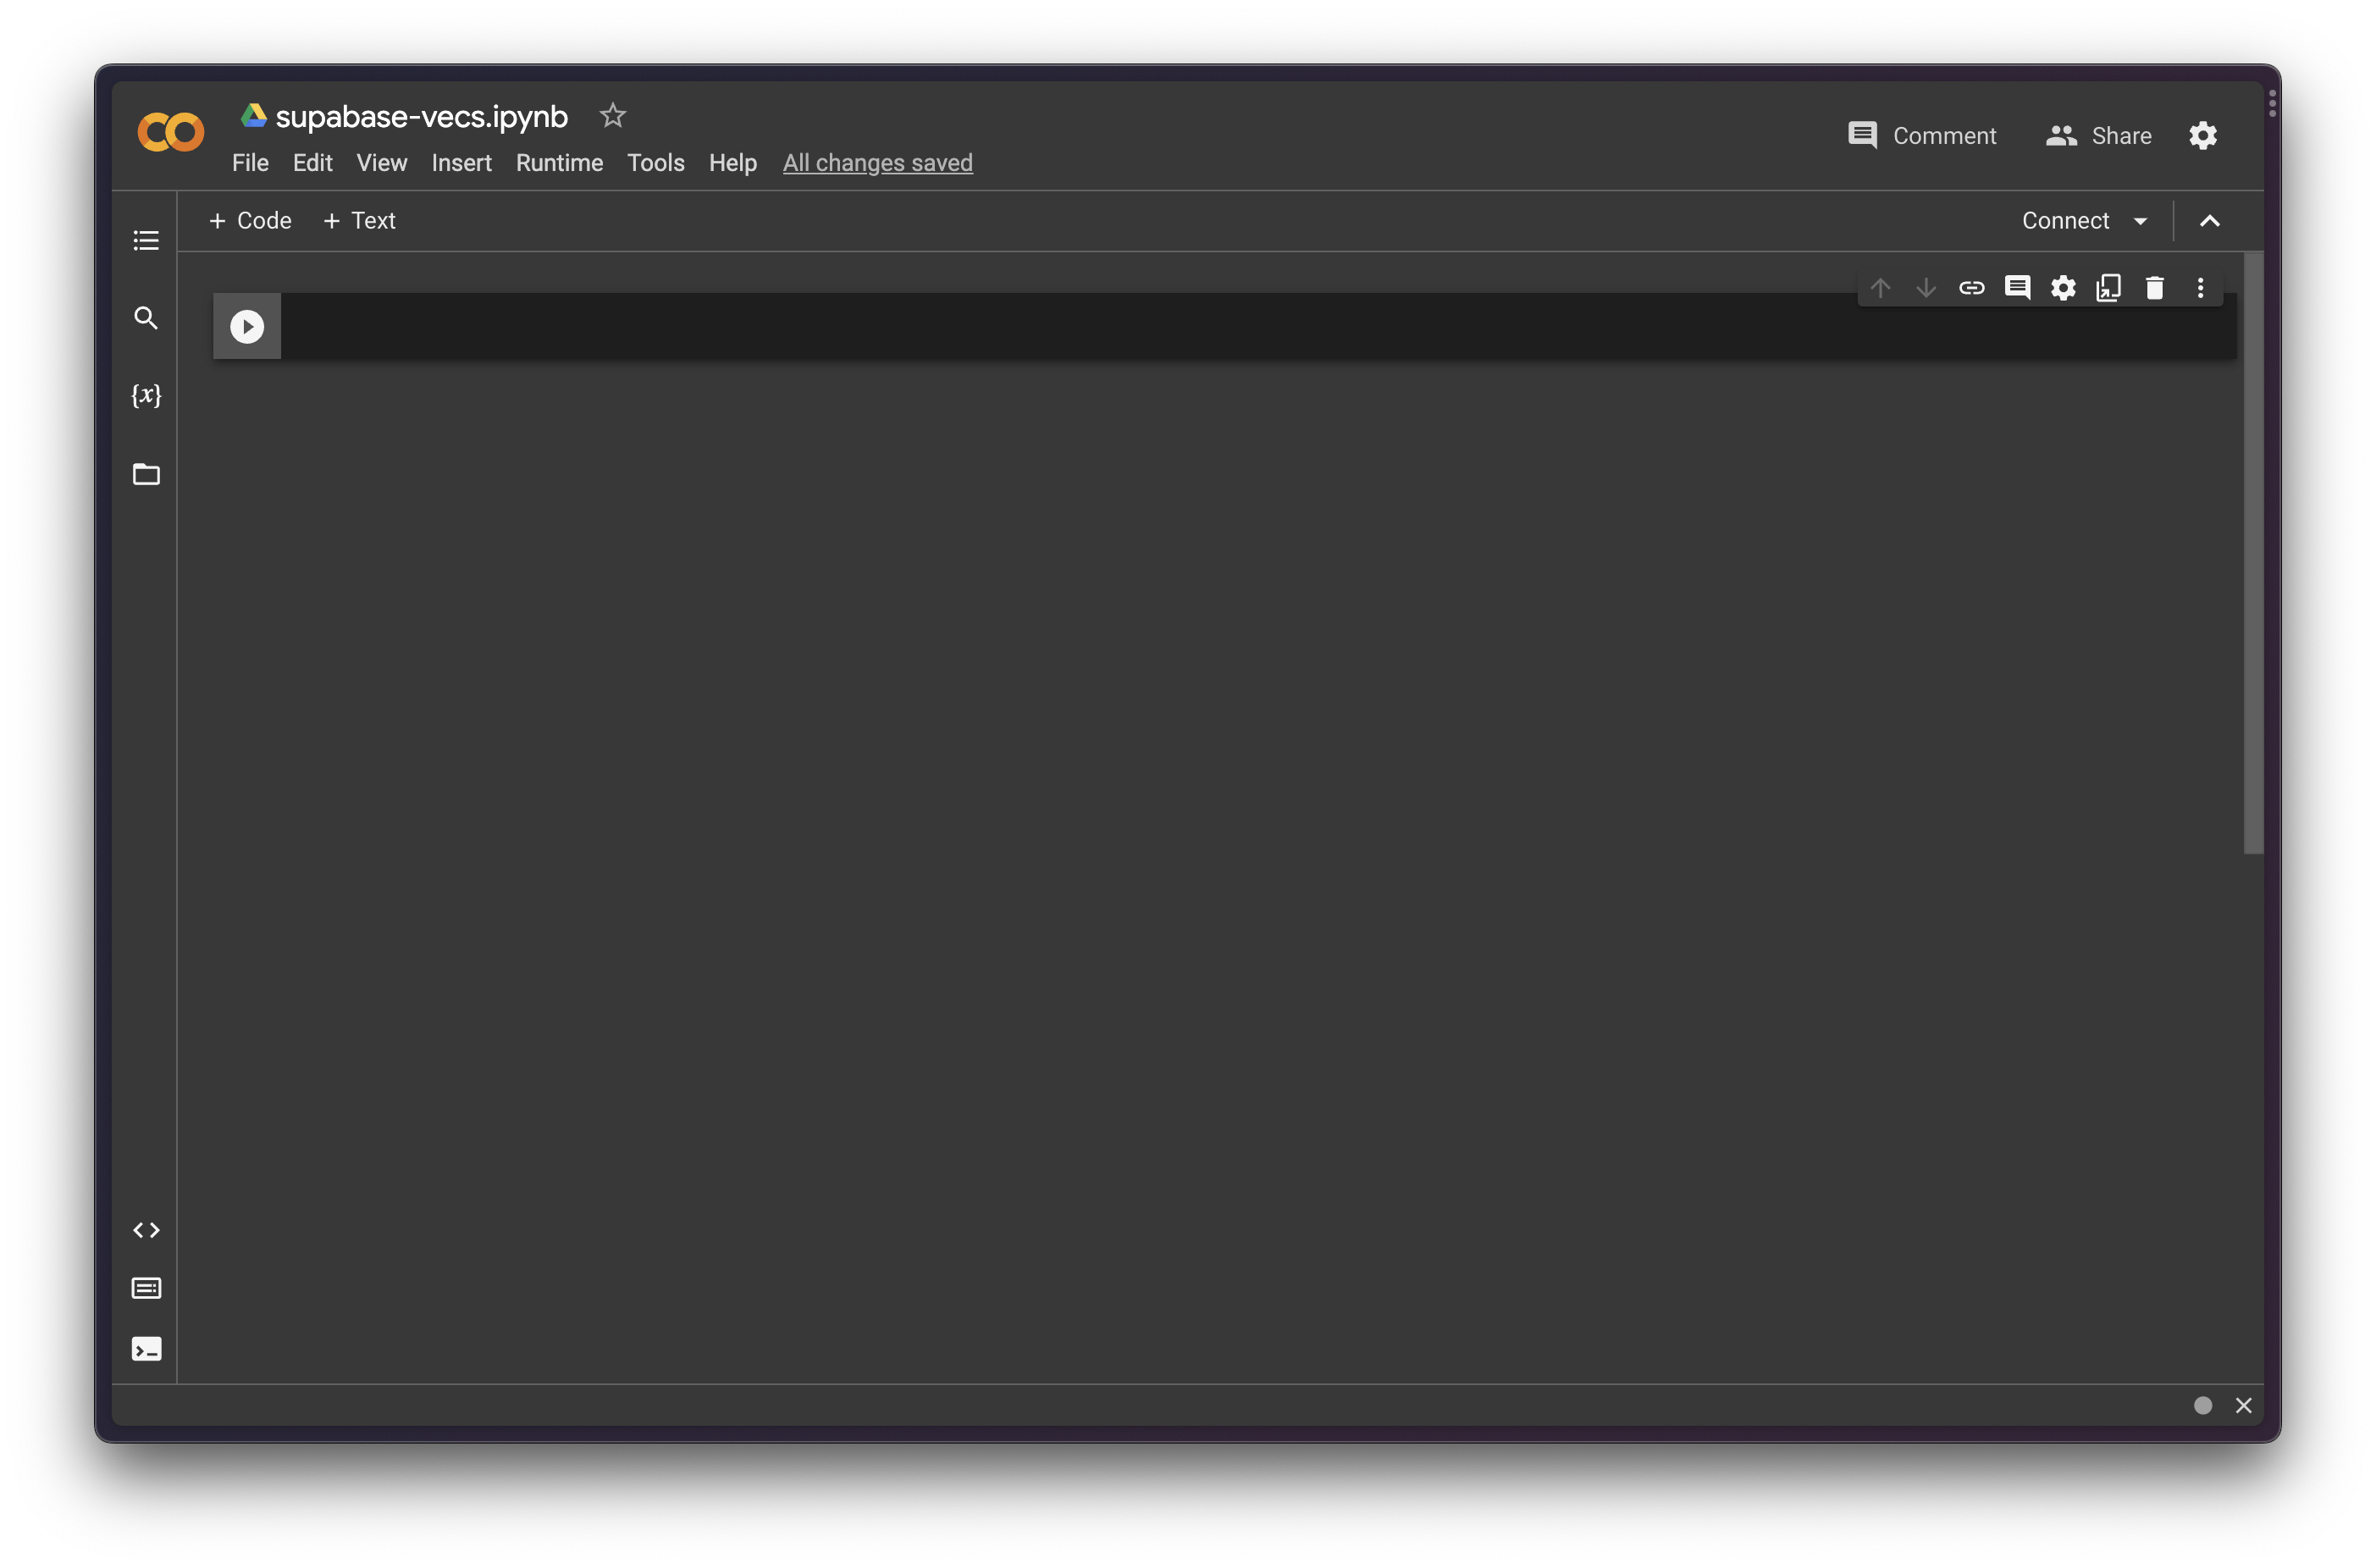
首先访问 colab.research.google.com。在那里你可以创建一个新的注意本。
🌐 Start by visiting colab.research.google.com. There you can create a new notebook.
安装 Vecs #
🌐 Install Vecs
我们将使用 Supabase Vector 客户端 Vecs 来管理我们的集合。
🌐 We'll use the Supabase Vector client, Vecs, to manage our collections.
在注意本顶部,粘贴以下代码并点击“执行”(ctrl+enter):
🌐 At the top of the notebook, paste the following code and click "Execute" (ctrl+enter):
1pip install vecs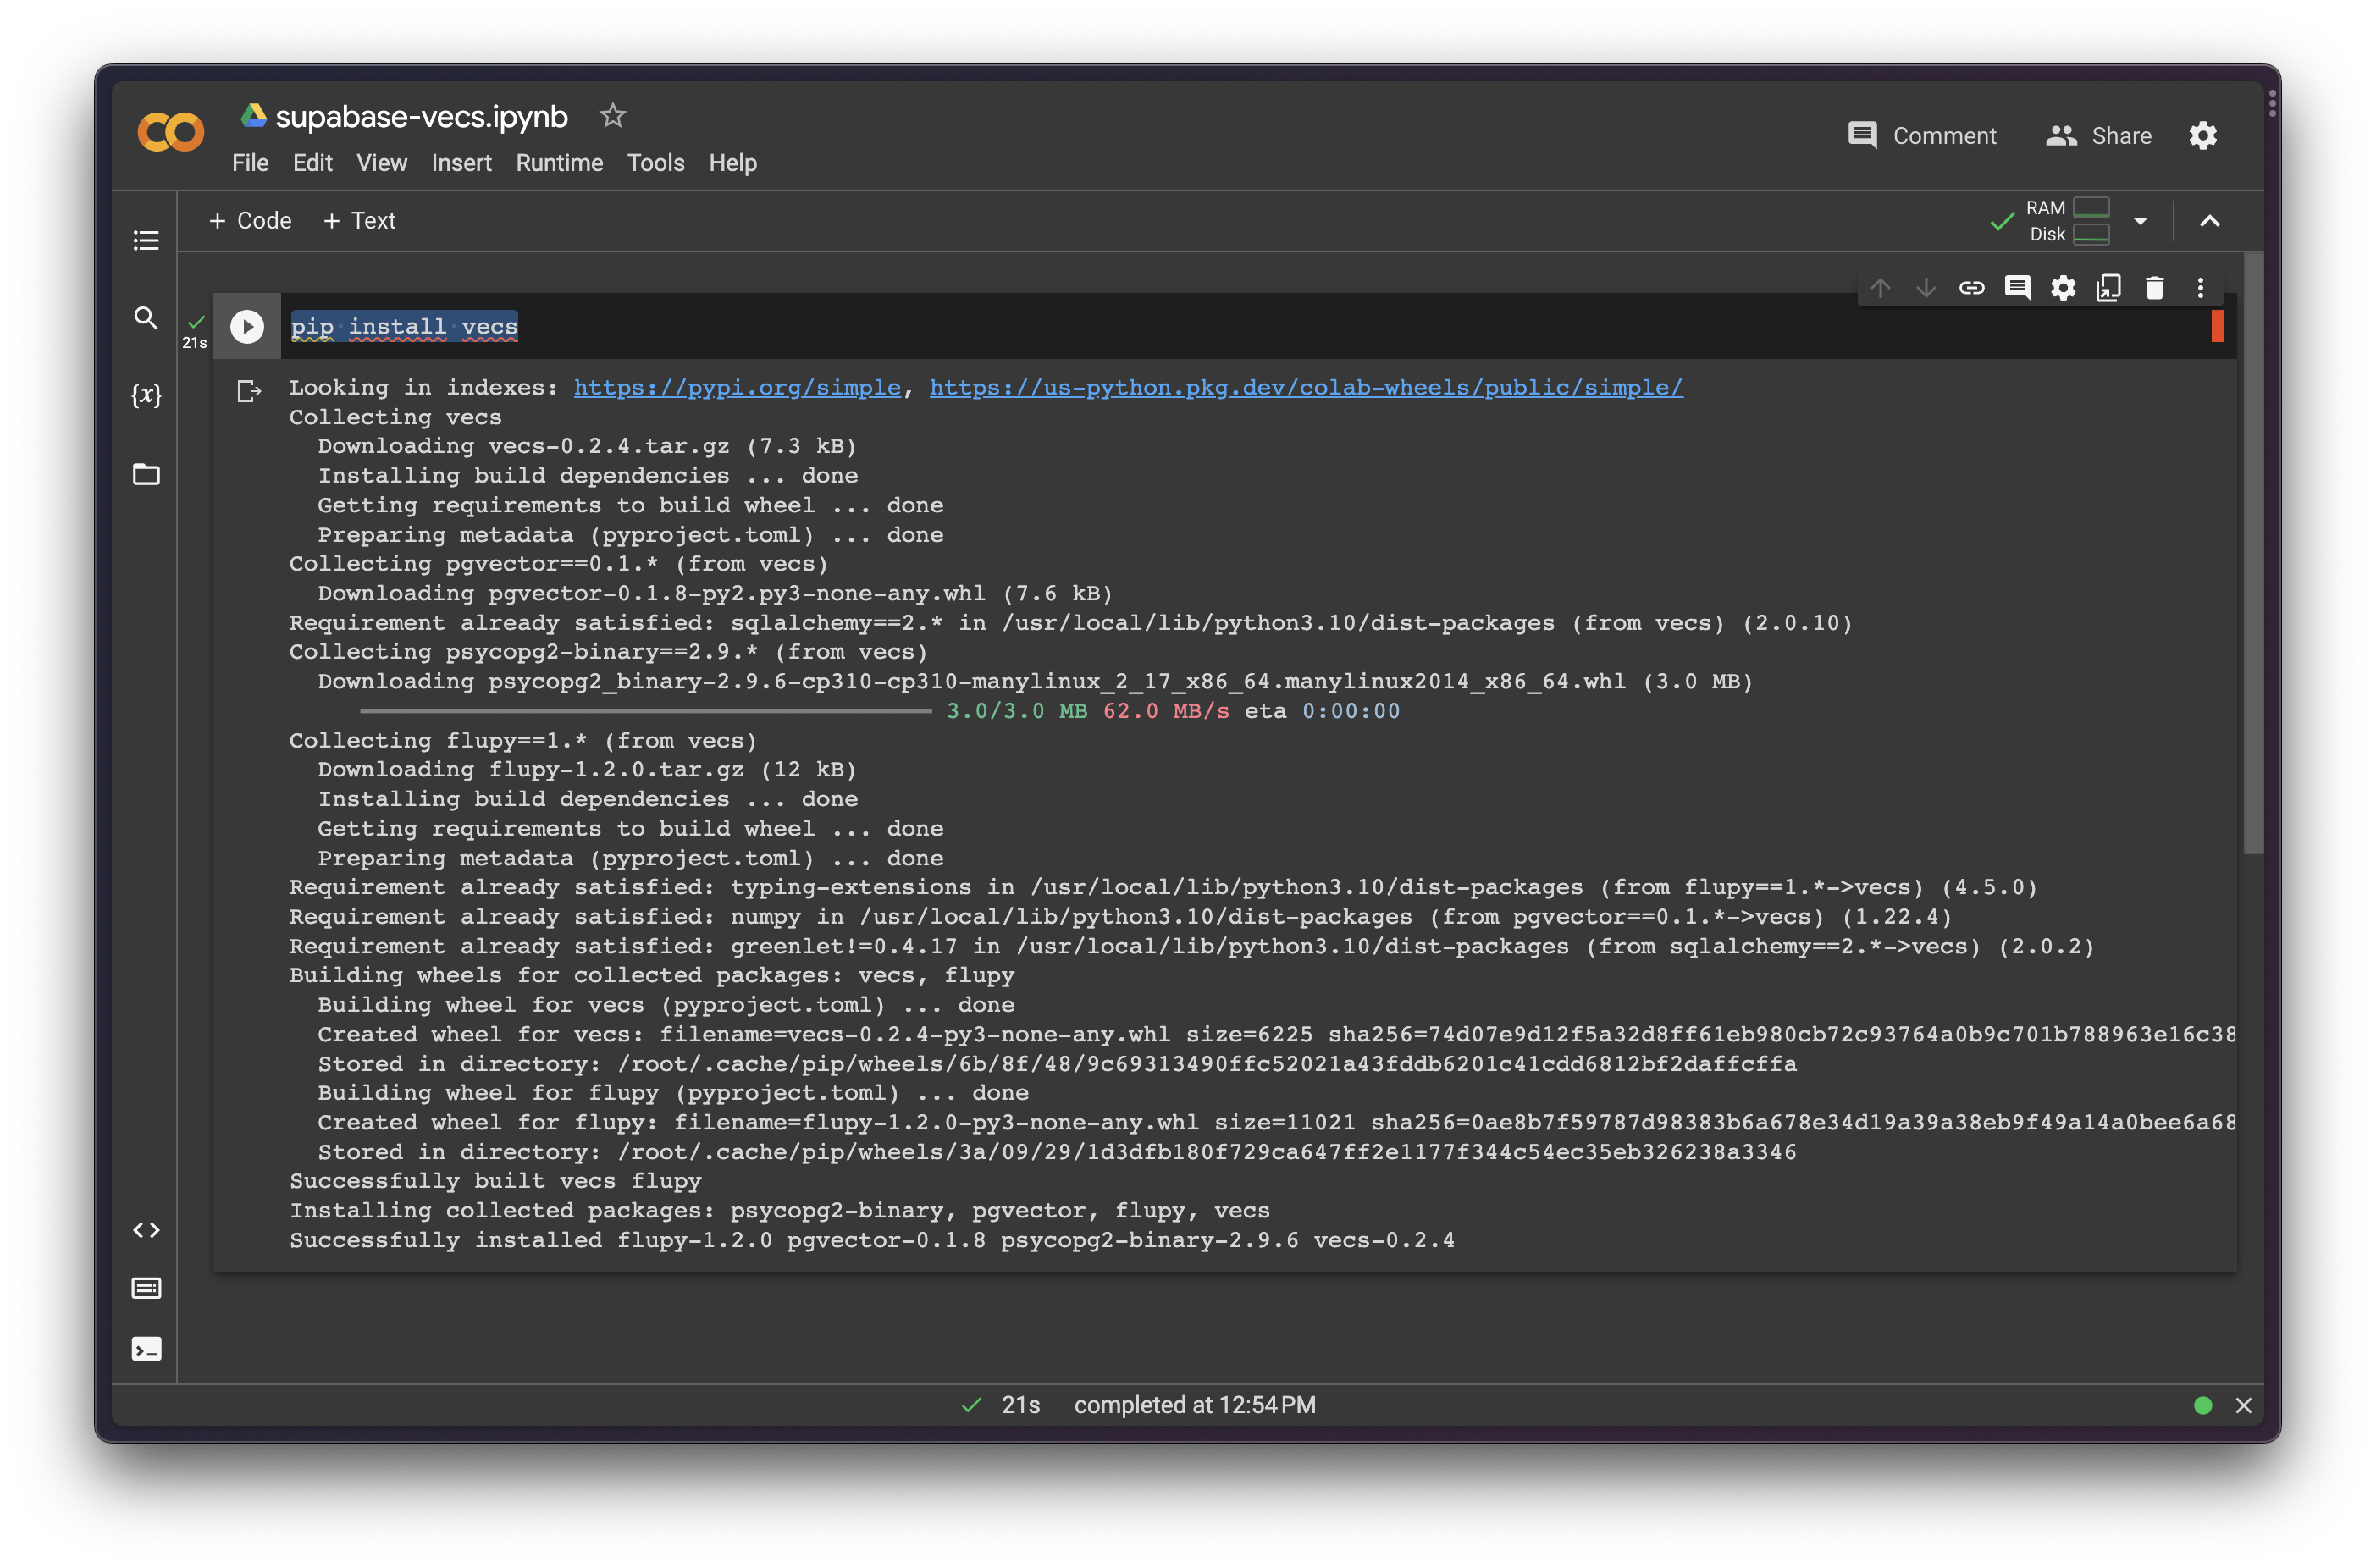
连接到你的数据库 #
🌐 Connect to your database
在你的项目仪表板上,点击 Connect。连接字符串应该看起来像 postgres://postgres.xxxx:password@xxxx.pooler.supabase.com:6543/postgres
🌐 On your project dashboard, click Connect. The connection string should look like postgres://postgres.xxxx:password@xxxx.pooler.supabase.com:6543/postgres
在安装模块(ctrl+m b)下面创建一个新的代码块,并使用你上面复制的 Postgres URI 添加以下代码:
🌐 Create a new code block below the install block (ctrl+m b) and add the following code using the Postgres URI you copied above:
1import vecs23DB_CONNECTION = "postgres://postgres.xxxx:password@xxxx.pooler.supabase.com:6543/postgres"45# create vector store client6vx = vecs.create_client(DB_CONNECTION)执行代码块(ctrl+enter)。如果没有返回错误,那说明你的连接成功了。
🌐 Execute the code block (ctrl+enter). If no errors were returned then your connection was successful.
创建一个收藏 #
🌐 Create a collection
现在我们要创建一个新集合并插入一些文档。
🌐 Now we're going to create a new collection and insert some documents.
在安装块(ctrl+m b)下面创建一个新的代码块。将以下代码添加到代码块中并执行它(ctrl+enter):
🌐 Create a new code block below the install block (ctrl+m b). Add the following code to the code block and execute it (ctrl+enter):
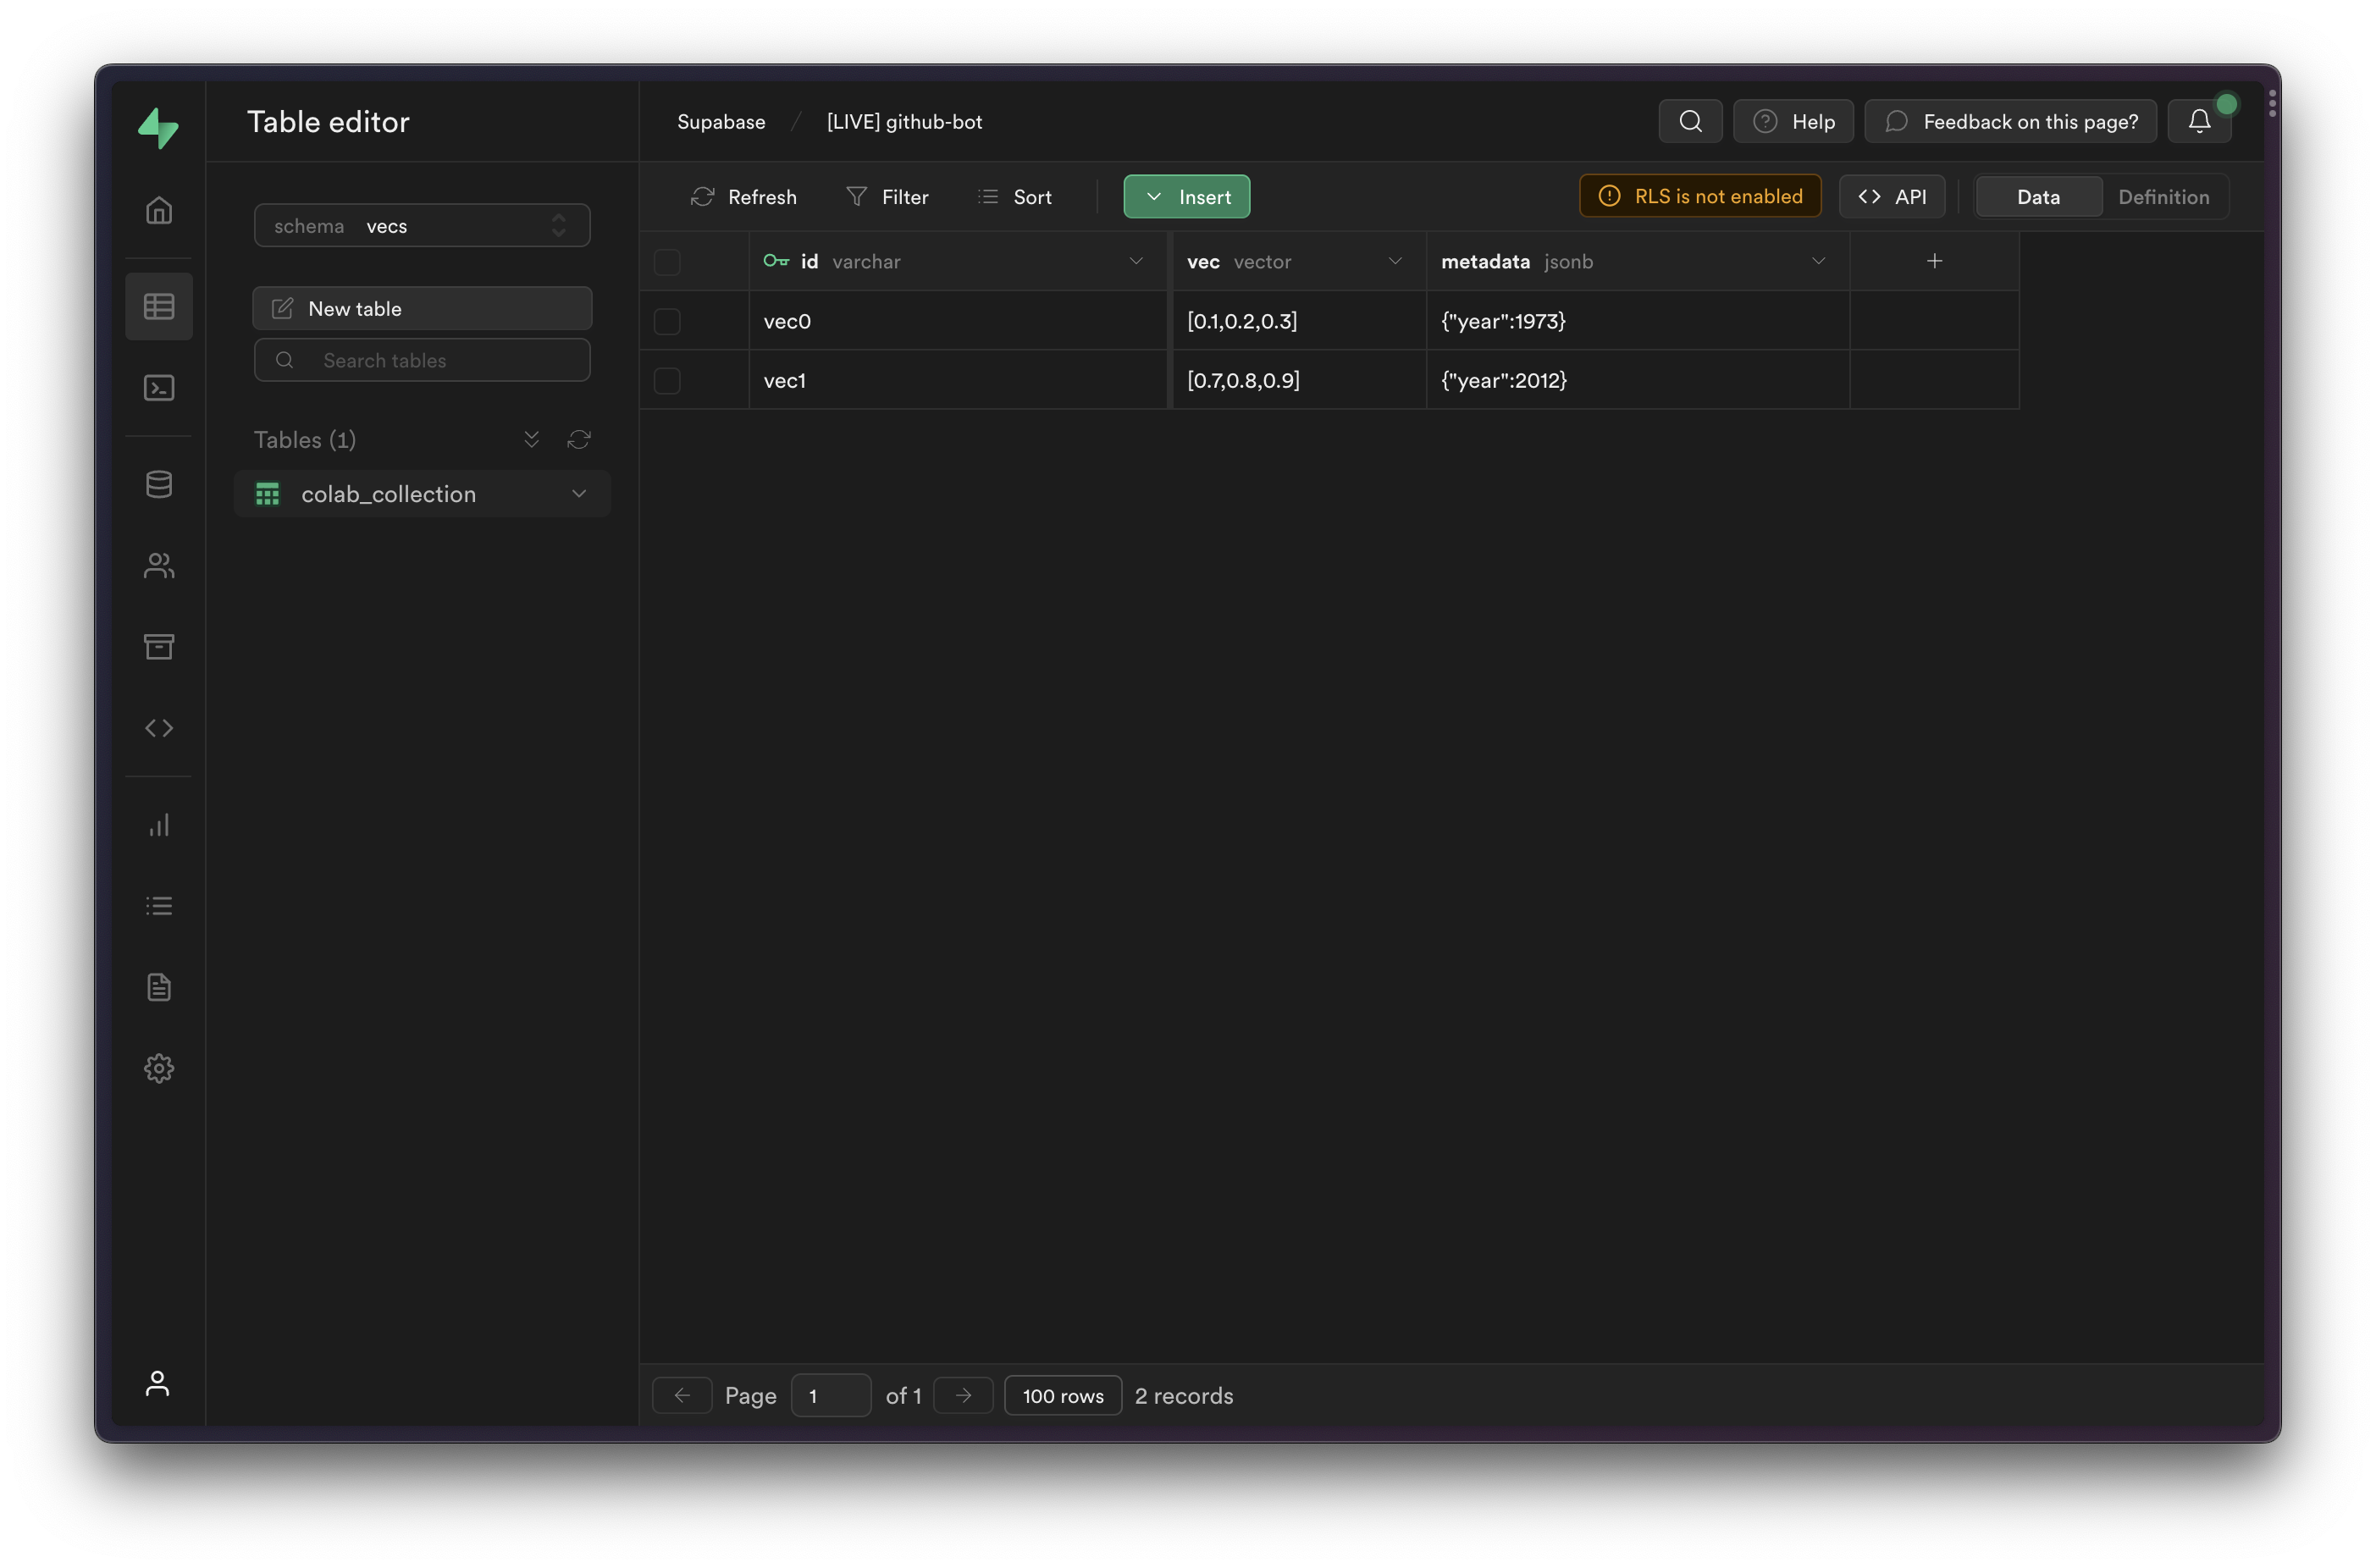
1collection = vx.get_or_create_collection(name="colab_collection", dimension=3)23collection.upsert(4 vectors=[5 (6 "vec0", # the vector's identifier7 [0.1, 0.2, 0.3], # the vector. list or np.array8 {"year": 1973} # associated metadata9 ),10 (11 "vec1",12 [0.7, 0.8, 0.9],13 {"year": 2012}14 )15 ]16)这将在你的数据库的 vecs 架构中创建一个名为 colab_collection 的表。你可以在 表格编辑器 中查看插入的项目,只需从架构下拉菜单中选择 vecs 架构即可。
🌐 This will create a table inside your database within the vecs schema, called colab_collection. You can view the inserted items in the Table Editor, by selecting the vecs schema from the schema dropdown.
查询你的文档 #
🌐 Query your documents
现在我们可以根据文档的相似性来搜索文档。创建一个新的代码块并执行以下代码:
🌐 Now we can search for documents based on their similarity. Create a new code block and execute the following code:
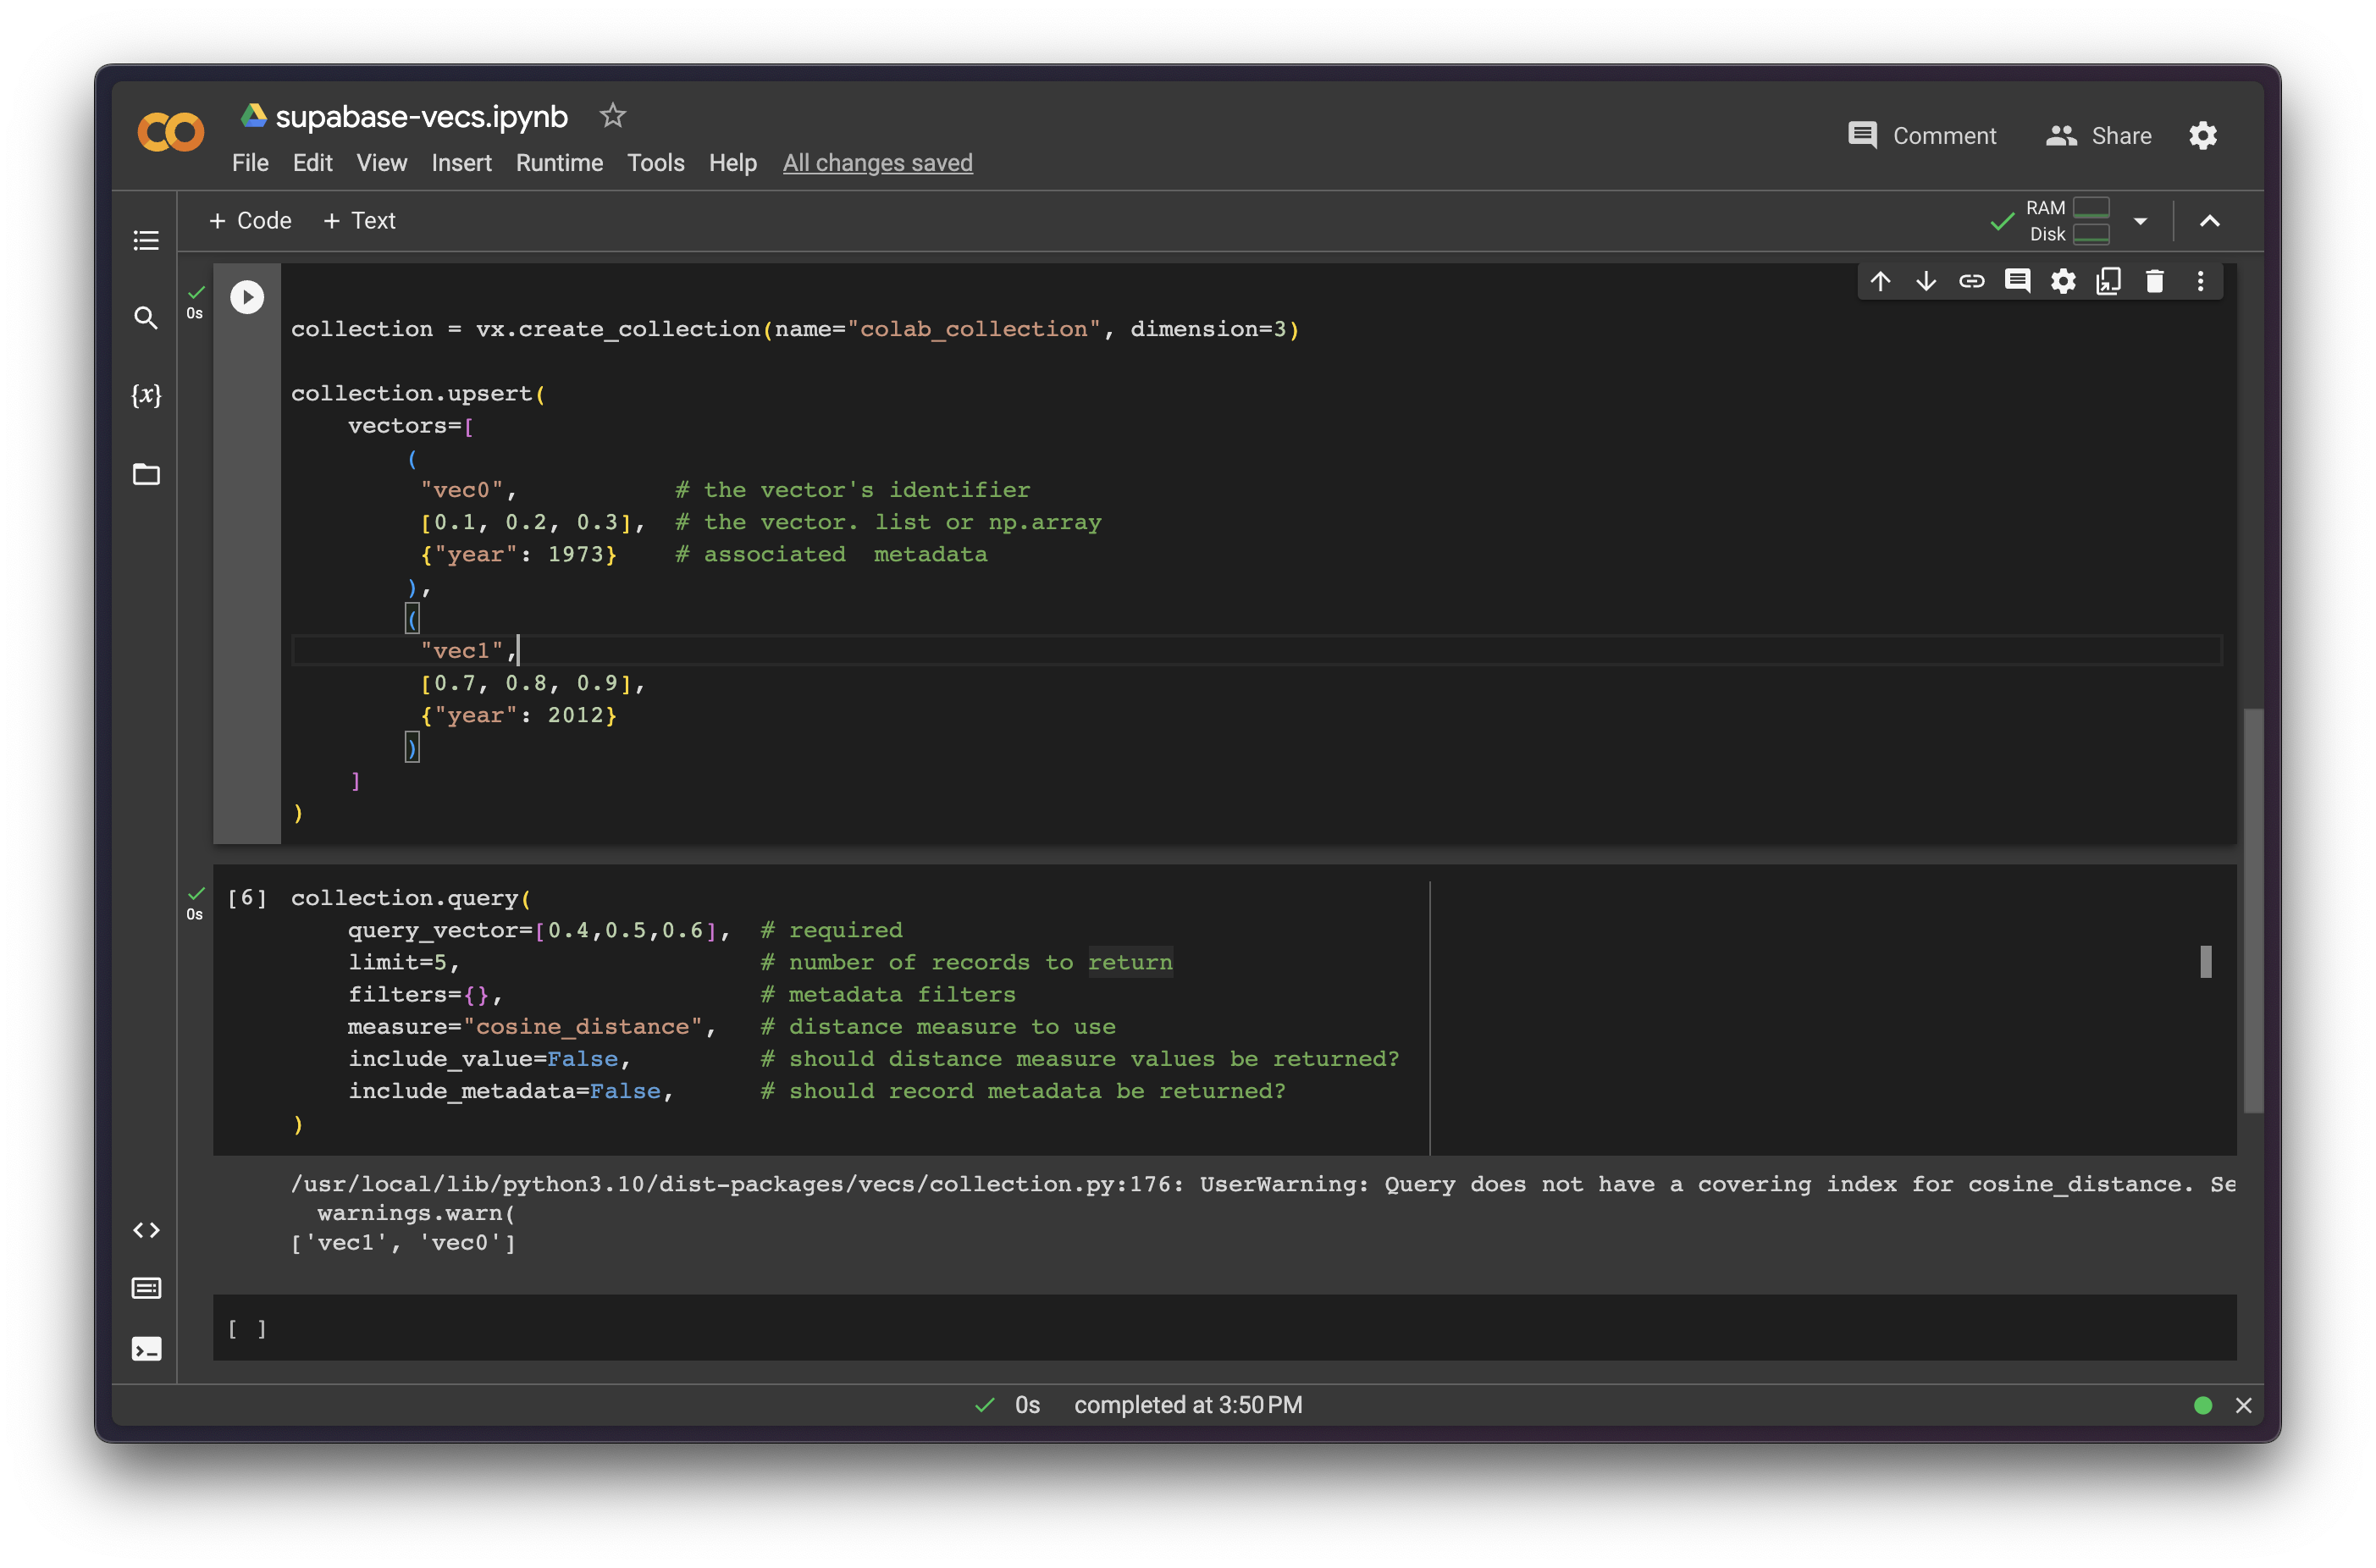
1collection.query(2 query_vector=[0.4,0.5,0.6], # required3 limit=5, # number of records to return4 filters={}, # metadata filters5 measure="cosine_distance", # distance measure to use6 include_value=False, # should distance measure values be returned?7 include_metadata=False, # should record metadata be returned?8)你会看到这会返回一个包含两个文档的数组 ['vec1', 'vec0']:
🌐 You will see that this returns two documents in an array ['vec1', 'vec0']:
它还会返回一个警告:
🌐 It also returns a warning:
1Query does not have a covering index for cosine_distance.你可以在 Vecs 文档 中了解更多关于创建索引的内容。
🌐 You can lean more about creating indexes in the Vecs documentation.
资源 #
🌐 Resources
- Vecs API:supabase.github.io/vecs/api