创建和管理收藏
Connecting to your database with Colab.
本指南将带你通过一个使用 Colab 和 Supabase Vecs 的基本【Hello World】示例。你将学到如何:
🌐 This guide will walk you through a basic "Hello World" example using Colab and Supabase Vecs. You'll learn how to:
- 启动一个使用 pgvector 存储嵌入的 Postgres 数据库
- 启动一个连接到你的数据库的注意本
- 创建一个向量集合
- 向集合中添加数据
- 查询集合
项目设置 #
🌐 Project setup
要创建一个新的 Postgres 数据库,在 Supabase 里新建一个项目:
🌐 To create a new Postgres database, start a new Project in Supabase:
- 在 Supabase 仪表板中创建一个新项目。
- 输入你的项目详情。记得把密码安全地保存起来。
你的数据库将在不到一分钟内可用。
🌐 Your database will be available in less than a minute.
查找你的凭证:
你可以在仪表板上找到你的项目凭证:
🌐 You can find your project credentials on the dashboard:
启动注意本 #
🌐 Launching a notebook
在 Colab 中启动我们的 vector_hello_world 注意本:
🌐 Launch our vector_hello_world notebook in Colab:

在注意本的顶部,你会看到一个按钮 Copy to Drive。点击这个按钮就可以把注意本复制到你的谷歌云端硬盘。
🌐 At the top of the notebook, you'll see a button Copy to Drive. Click this button to copy the notebook to your Google Drive.
正在连接到你的数据库 #
🌐 Connecting to your database
在注意本里,找到指定 DB_CONNECTION 的单元格。它会包含像这样的代码:
🌐 Inside the Notebook, find the cell which specifies the DB_CONNECTION. It will contain some code like this:
1import vecs23DB_CONNECTION = "postgresql://<user>:<password>@<host>:<port>/<db_name>"45# create vector store client6vx = vecs.create_client(DB_CONNECTION)将 DB_CONNECTION 替换为你的 Session pooler 连接字符串。你可以在项目仪表板上点击 连接 找到连接字符串。
🌐 Replace the DB_CONNECTION with your Session pooler connection string. You can find the connection string on your project dashboard by clicking Connect.
SQLAlchemy 要求连接字符串以 postgresql:// 开头(而不是 postgres://)。从仪表板复制字符串后别忘了重命名。
🌐 SQLAlchemy requires the connection string to start with postgresql:// (instead of postgres://). Don't forget to rename this after copying the string from the dashboard.
你必须在 Google Colab 中使用会话池连接字符串,因为 Colab 不支持 IPv6。
🌐 You must use the Session pooler connection string with Google Colab since Colab does not support IPv6.
浏览注意本 #
🌐 Stepping through the notebook
现在剩下的就是逐步运行注意本了。你可以通过点击每个代码单元左上角的“执行”按钮(ctrl+enter)来完成。注意本会引导你完成创建集合、向其中添加数据以及查询的过程。
🌐 Now all that's left is to step through the notebook. You can do this by clicking the "execute" button (ctrl+enter) at the top left of each code cell. The notebook guides you through the process of creating a collection, adding data to it, and querying it.
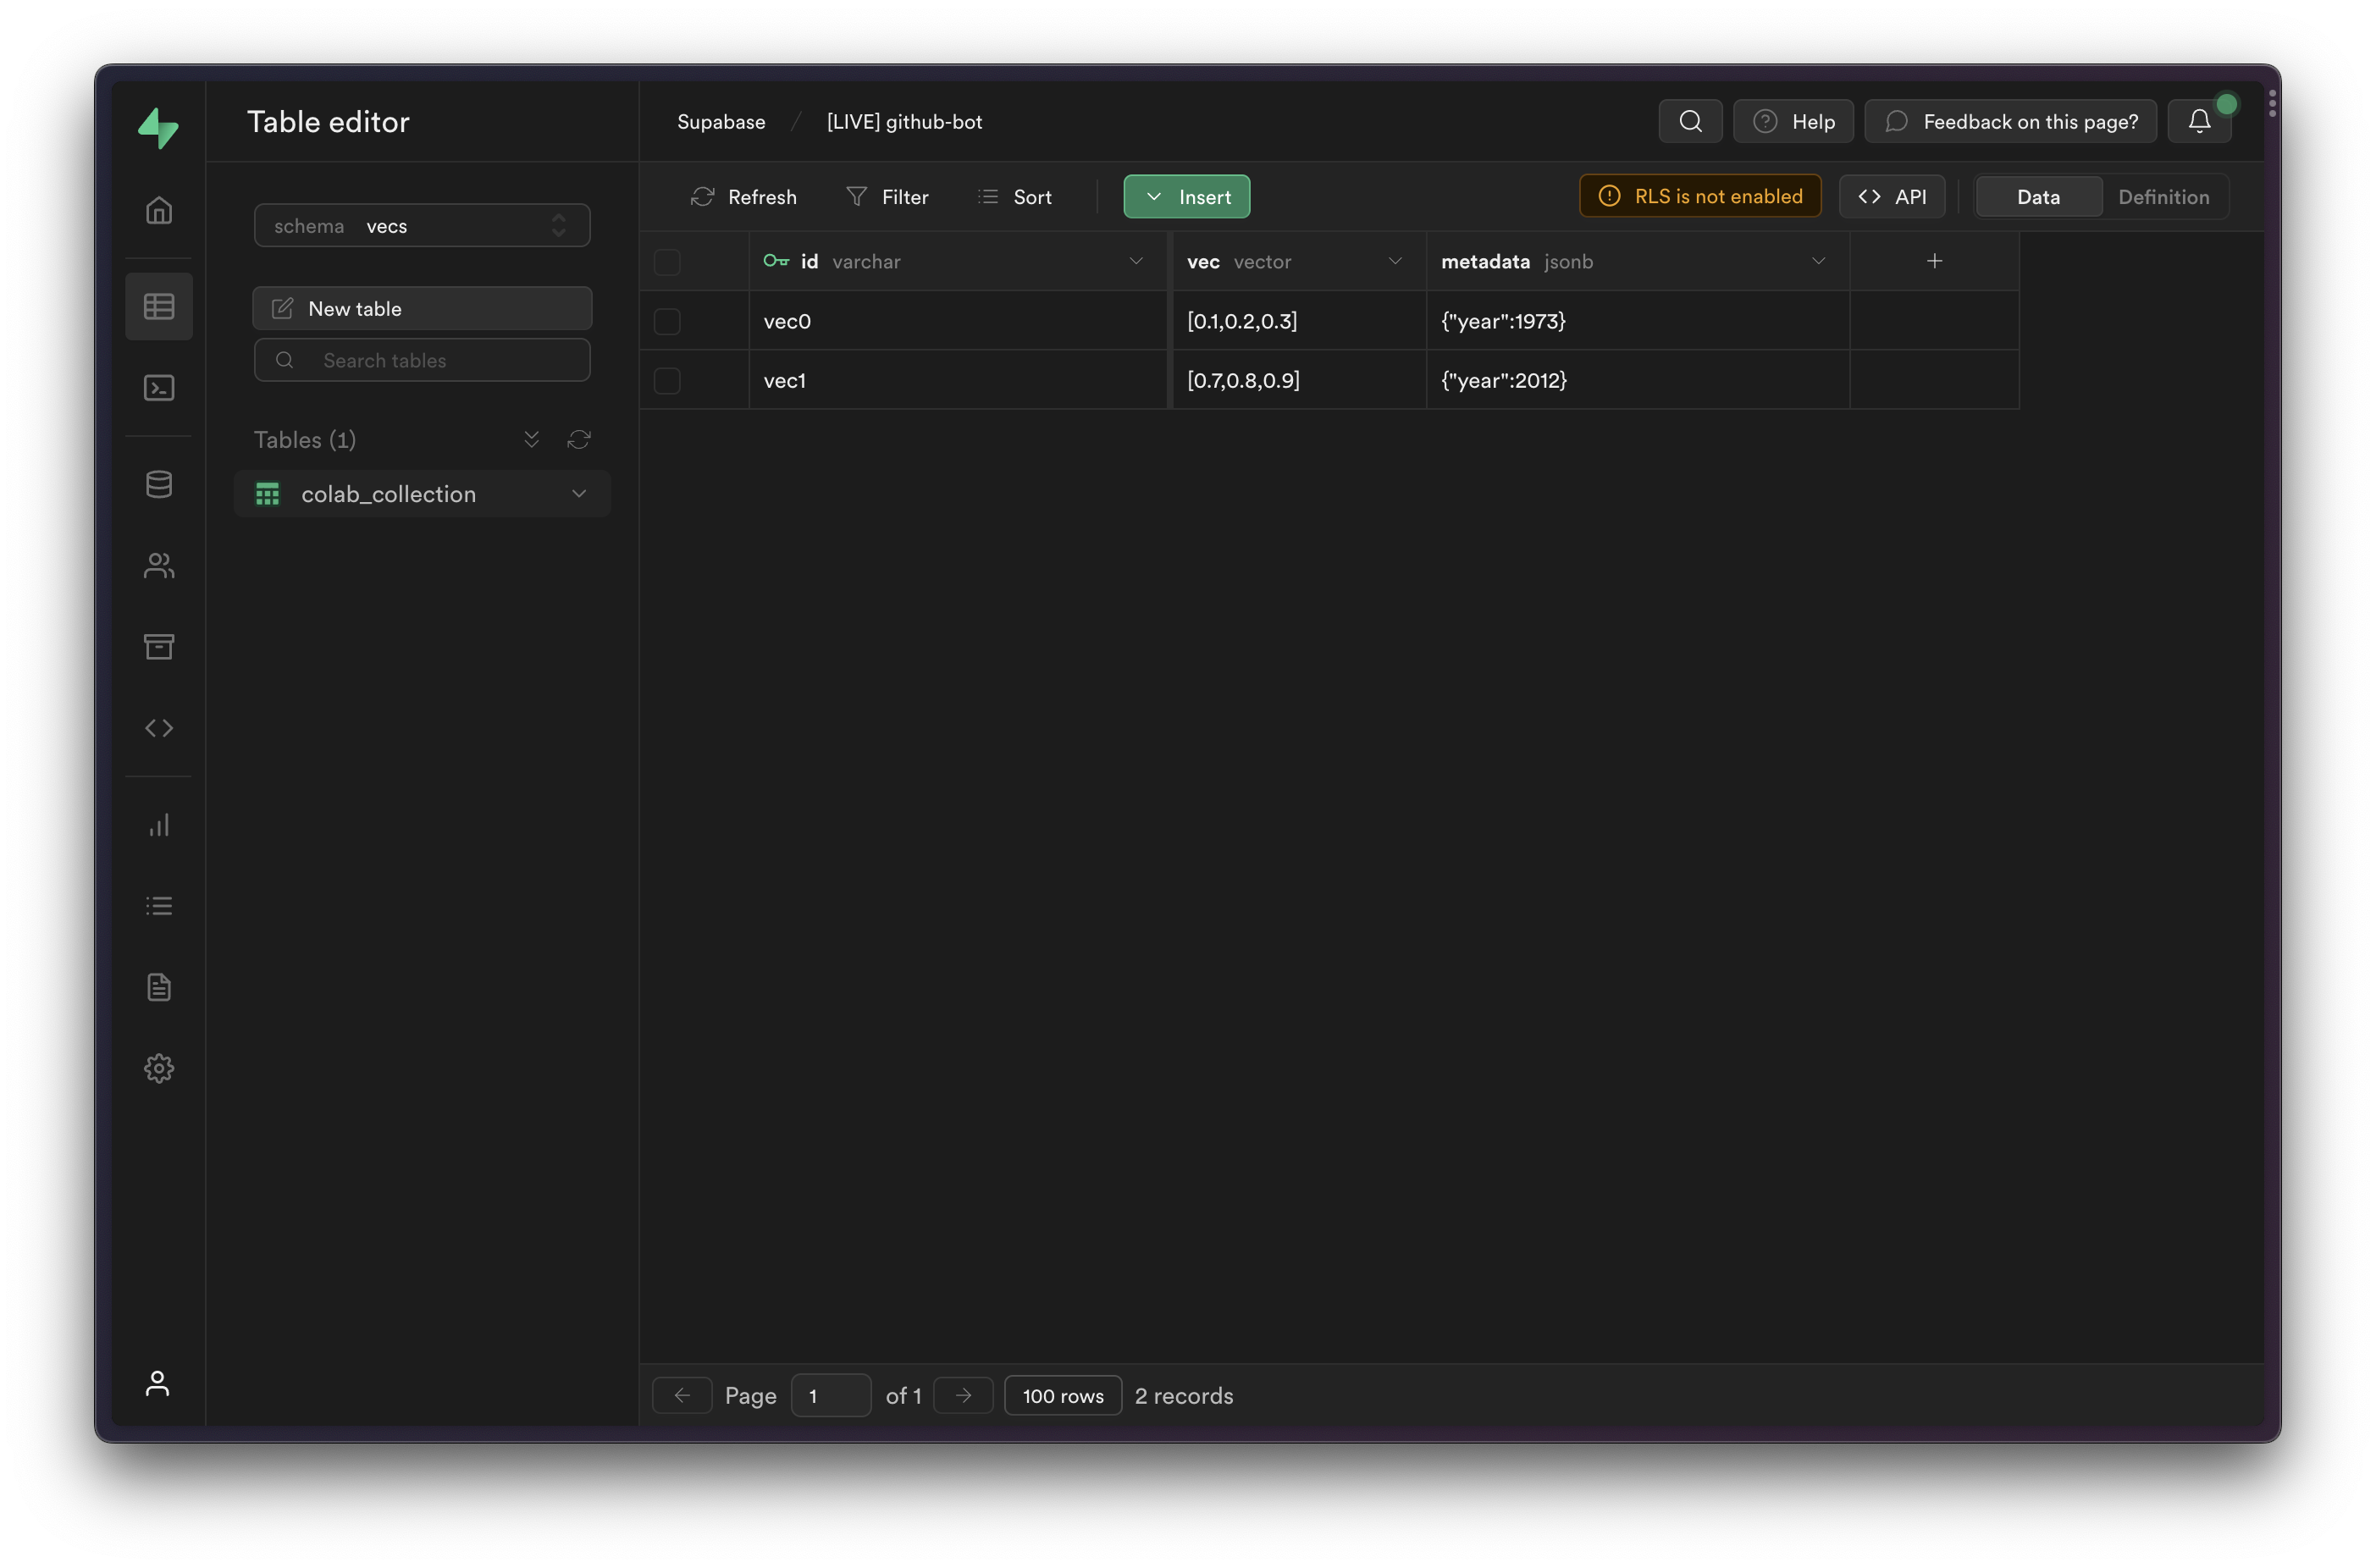
你可以在 表格编辑器 中查看已插入的项目,只需从模式下拉菜单中选择 vecs 模式即可。
🌐 You can view the inserted items in the Table Editor, by selecting the vecs schema from the schema dropdown.
下一步 #
🌐 Next steps
你现在可以开始用 Vecs 构建你自己的应用了。查看我们的示例获取灵感。
🌐 You can now start building your own applications with Vecs. Check our examples for ideas.