使用Kakao登录
要在你的项目中启用 Kakao 登录,你需要先设置一个 Kakao OAuth 应用,然后把应用的凭证添加到 Supabase 仪表板上。
🌐 To enable Kakao Auth for your project, you need to set up a Kakao OAuth application and add the application credentials to your Supabase Dashboard.
概览 #
🌐 Overview
Kakao OAuth 大致分为六个步骤:
🌐 Kakao OAuth consists of six broad steps:
- 在 Kakao 开发者门户 创建并配置你的应用。
- 获取一个
REST API key——它作为client_id使用。 - 获得一个
Kakao Login Client Secret code——它可以作为client_secret使用。 - 在 Kakao 开发者门户中配置更多设置。
- 将你的
client id和client secret密钥添加到你的 Supabase 项目 中。 - 将登录代码添加到你的 Supabase JS 客户端应用 中。
访问你的Kakao开发者账号 #
🌐 Access your Kakao Developer account
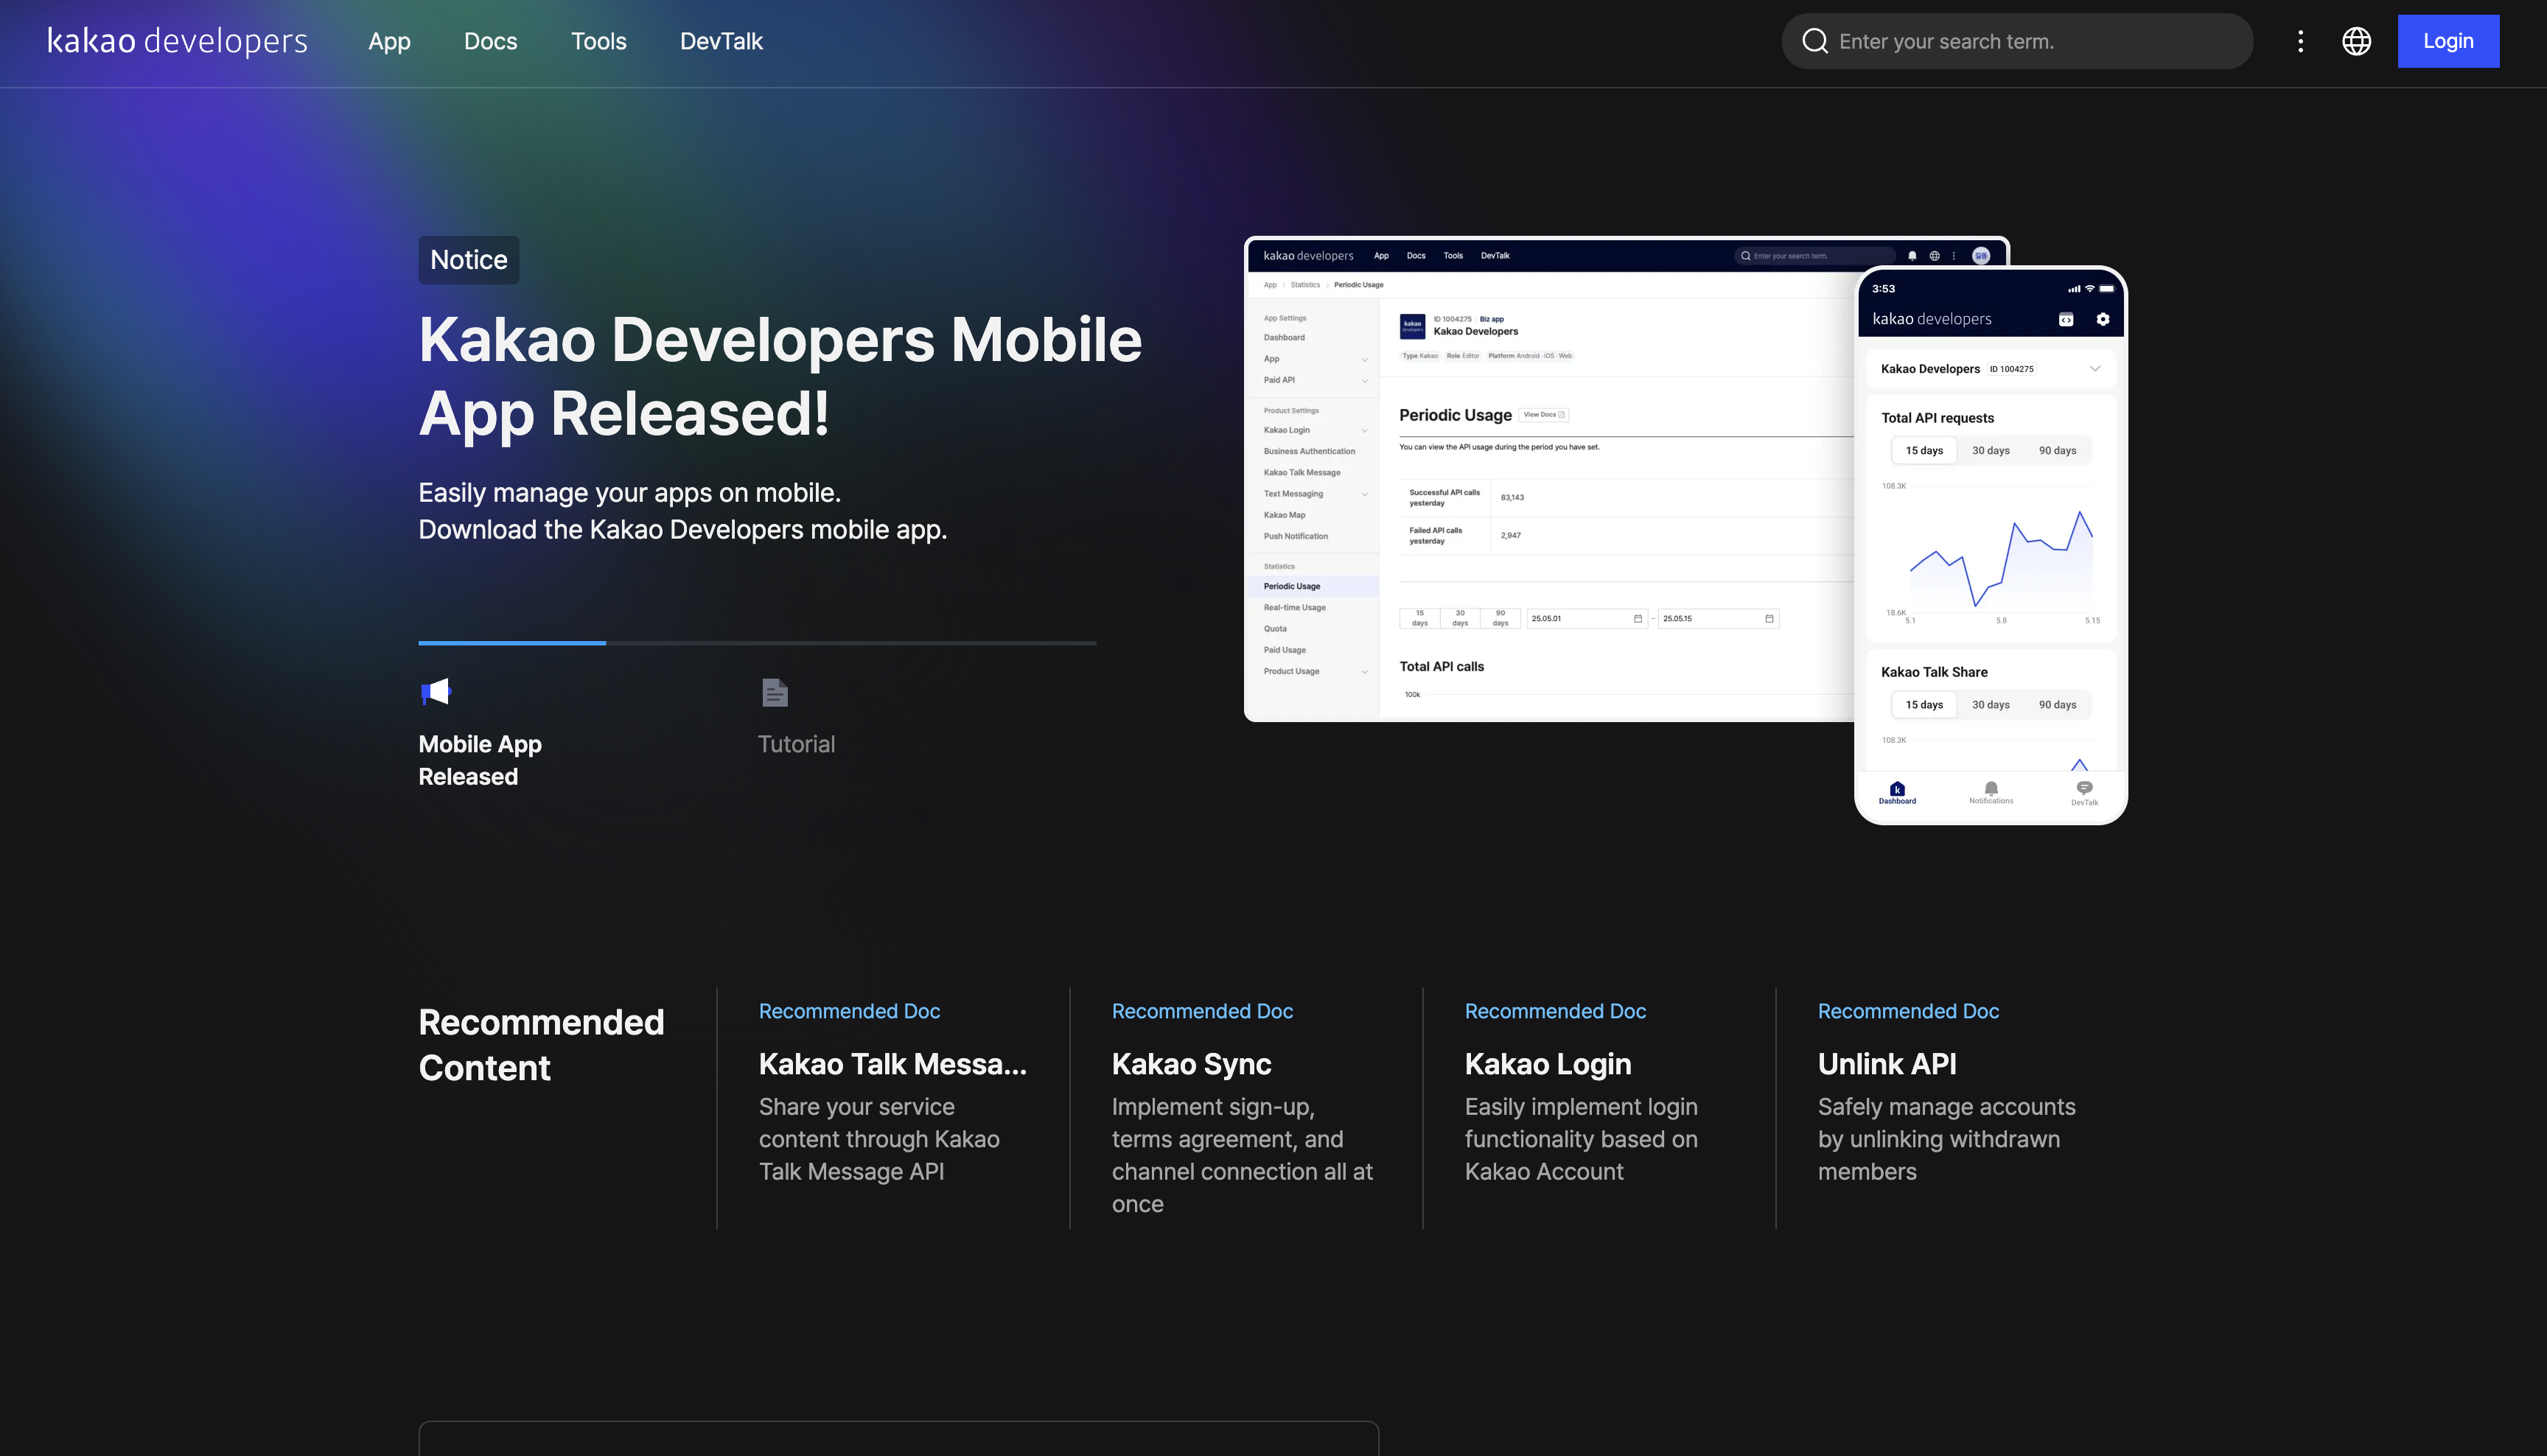
- 去 Kakao 开发者门户。
- 点击右上角的 登录 进行登录。
创建并配置你的应用 #
🌐 Create and configure your app
- 去 应用。
- 点击顶部的 创建应用。
- 填写你的应用信息:
- 应用图标
- 应用名称
- 公司名称
- 类别
- 应用主要域名。
- 点击右下角的保存。
获取一个 REST API 密钥 #
🌐 Obtain a REST API key
当你调用 API 来验证用户时,这个就作为 client_id 使用。
🌐 This serves as the client_id when you make API calls to authenticate the user.
- 去 应用。
- 点击你的应用。
- 去 应用设置 > 应用 > 平台密钥。
- 在平台密钥部分是
REST API key。以后这将成为你的client_id。
找到你的回调网址 #
🌐 Find your callback URL
下一步需要一个回调 URL,看起来像这样:https://<project-ref>.supabase.co/auth/v1/callback
- 前往你的 Supabase 项目仪表板
- 点击左侧边栏的
Authentication图标 - 在配置部分点击
Sign In / Providers - 点击手风琴列表中的 Kakao 展开,你就会找到你的 回调 URL,你可以点击
Copy将其复制到剪贴板
本地开发 #
🌐 Local development
在本地使用 Supabase CLI 测试 OAuth 时,确保你的 OAuth 提供商已配置本地 Supabase Auth 回调 URL:
🌐 When testing OAuth locally with the Supabase CLI, ensure your OAuth provider is configured with the local Supabase Auth callback URL:
http://localhost:54321/auth/v1/callback
如果这个回调 URL 缺失或配置错误,OAuth 登录可能会失败,或者在本地开发时无法正确跳转。
🌐 If this callback URL is missing or misconfigured, OAuth sign-in may fail or not redirect correctly during local development.
有关更多详情,请查看本地开发文档。
🌐 See the local development docs for more details.
要在本地使用 Supabase CLI 测试 OAuth,请参阅本地开发文档。
🌐 For testing OAuth locally with the Supabase CLI see the local development docs.
- 要在 Kakao 上添加回调 URL,进入 应用设置 > 应用 > 平台密钥。
- 点击你想使用的 REST API 密钥。
- 在编辑页面,在 Kakao 登录重定向 URI 字段中输入你的回调 URL。
- 点击右下角的 保存。
获取客户端密钥 #
🌐 Obtain a client secret
- 去 应用设置 > 应用 > 平台密钥。
- 点击你想使用的 REST API 密钥。
- 记下 Kakao 登录客户端密钥。它作为你 Supabase 项目的
client_secret。 - 确保你激活了 Kakao 登录客户端密钥。
在Kakao开发者门户上的额外配置 #
🌐 Additional configurations on Kakao Developers portal
- 前往 产品设置 > Kakao 登录 > 常规。
- 在 使用设置 部分将 状态 设置为“开启”以启用 Kakao 登录。
- 去 产品设置 > Kakao 登录 > 同意项目。
- 在同意条目下设置以下范围:
- 账户邮箱(可选)
- profile_image
- profile_nickname
如果你不需要邮箱地址(或者你的应用无法使用 account_email),你可以省略 account_email,并在 Supabase Kakao 提供者设置中启用 允许无邮箱用户。
🌐 If you don't need an email address (or account_email isn't available for your app), you can omit account_email and enable Allow users without an email in the Supabase Kakao provider settings.
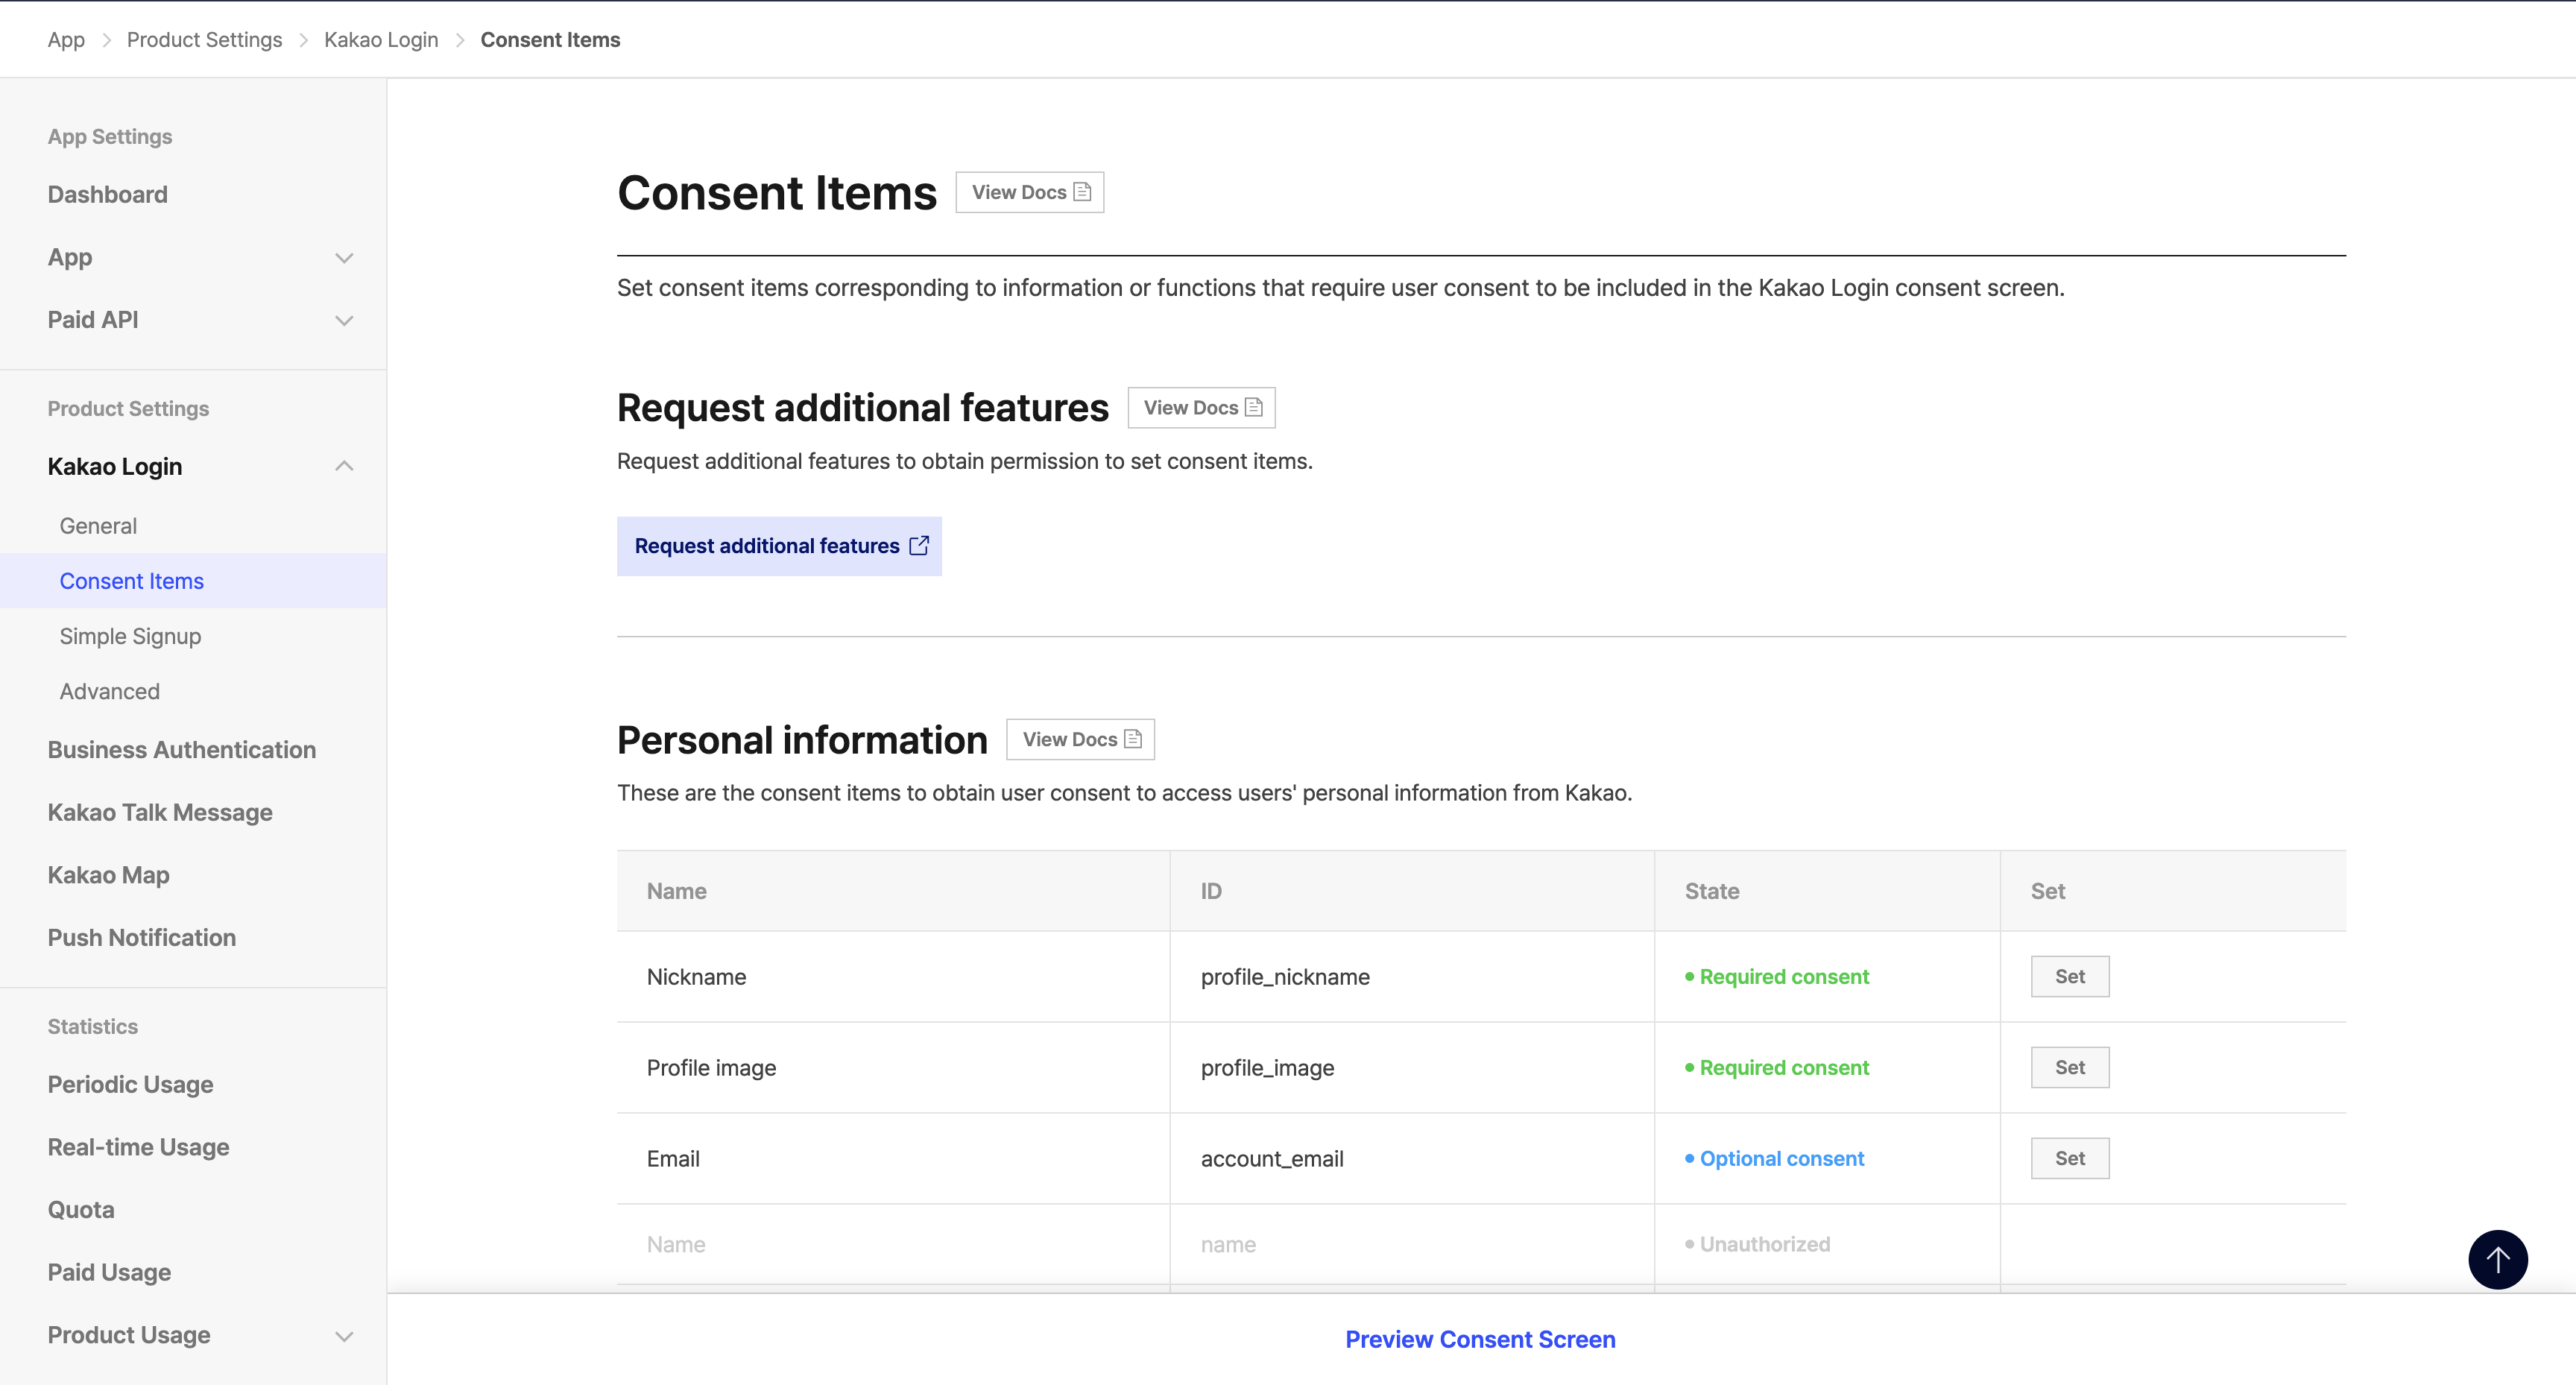
在 Kakao 开发者门户中,“account_email” 同意项只对注册为“Biz App”的应用可用。要将你的应用转换为“Biz App”,请进入 App 设置 > 应用 > 常规,并在 企业信息 部分填写必要的字段。
🌐 In the Kakao Developers Portal, the "account_email" consent item is only available for apps that are registered as "Biz App". To convert your app to a "Biz App", go to App Settings > App > General, and complete the required fields in the Business Information section.
把你的 OAuth 凭证添加到 Supabase #
🌐 Add your OAuth credentials to Supabase
- 前往你的 Supabase 项目仪表板
- 在左侧边栏,点击
Authentication图标(靠近顶部) - 在配置部分点击
Providers - 从手风琴列表中点击 Kakao 来展开,然后将 Kakao 启用 切换为开启
- 输入你在上一步保存的 Kakao 客户端 ID 和 Kakao 客户端密钥
- 点击
Save
如果你没有在 Kakao 请求 account_email,请在 Kakao 提供者设置中启用 允许没有邮箱的用户。
🌐 If you did not request account_email in Kakao, enable Allow users without an email in the Kakao provider settings.
在你的客户端应用中添加登录代码 #
🌐 Add login code to your client app
确保你在以下代码中使用了正确的 supabase 客户端。
🌐 Make sure you're using the right supabase client in the following code.
如果你没有使用服务器端渲染或基于 Cookie 的认证,你可以直接从 @supabase/supabase-js 使用 createClient。如果你在使用服务器端渲染,请查看 服务器端认证指南 获取创建 Supabase 客户端的说明。
🌐 If you're not using Server-Side Rendering or cookie-based Auth, you can directly use the createClient from @supabase/supabase-js. If you're using Server-Side Rendering, see the Server-Side Auth guide for instructions on creating your Supabase client.
当你的用户登录时,用 kakao 作为 provider 调用 signInWithOAuth() :
🌐 When your user signs in, call signInWithOAuth() with kakao as the provider:
1import { createClient } from '@supabase/supabase-js'23const supabase = createClient('https://your-project-id.supabase.co', 'sb_publishable_...')45// ---cut---6async function signInWithKakao() {7 const { data, error } = await supabase.auth.signInWithOAuth({8 provider: 'kakao',9 })10}以 PKCE 流程为例,比如在服务端认证中,你需要一个额外的步骤来处理代码交换。在调用 signInWithOAuth 时,提供一个指向回调路由的 redirectTo URL。这个重定向 URL 应该添加到你的 重定向允许列表 中。
🌐 For a PKCE flow, for example in Server-Side Auth, you need an extra step to handle the code exchange. When calling signInWithOAuth, provide a redirectTo URL which points to a callback route. This redirect URL should be added to your redirect allow list.
在浏览器中,signInWithOAuth 会自动重定向到 OAuth 提供商的认证端点,然后再重定向到你的端点。
🌐 In the browser, signInWithOAuth automatically redirects to the OAuth provider's authentication endpoint, which then redirects to your endpoint.
1import { createClient, type Provider } from '@supabase/supabase-js';2const supabase = createClient('https://your-project-id.supabase.co', 'sb_publishable_...')3const provider = 'provider' as Provider45// ---cut---6await supabase.auth.signInWithOAuth({7 provider,8 options: {9 redirectTo: `http://example.com/auth/callback`,10 },11})在回调端点,处理代码交换以保存用户会话。
🌐 At the callback endpoint, handle the code exchange to save the user session.
在 app/auth/callback/route.ts 创建一个新文件,并填入以下内容:
🌐 Create a new file at app/auth/callback/route.ts and populate with the following:
1import { NextResponse } from 'next/server'23// The client you created from the Server-Side Auth instructions4import { createClient } from '@/utils/supabase/server'56export async function GET(request: Request) {7 const { searchParams, origin } = new URL(request.url)8 const code = searchParams.get('code')9 // if "next" is in param, use it as the redirect URL10 let next = searchParams.get('next') ?? '/'11 if (!next.startsWith('/')) {12 // if "next" is not a relative URL, use the default13 next = '/'14 }1516 if (code) {17 const supabase = await createClient()18 const { error } = await supabase.auth.exchangeCodeForSession(code)19 if (!error) {20 const forwardedHost = request.headers.get('x-forwarded-host') // original origin before load balancer21 const isLocalEnv = process.env.NODE_ENV === 'development'22 if (isLocalEnv) {23 // we can be sure that there is no load balancer in between, so no need to watch for X-Forwarded-Host24 return NextResponse.redirect(`${origin}${next}`)25 } else if (forwardedHost) {26 return NextResponse.redirect(`https://${forwardedHost}${next}`)27 } else {28 return NextResponse.redirect(`${origin}${next}`)29 }30 }31 }3233 // return the user to an error page with instructions34 return NextResponse.redirect(`${origin}/auth/auth-code-error`)35}使用 Kakao 登录 JS SDK #
🌐 Using Kakao Login JS SDK
Kakao 登录 JS SDK 是一个官方的 Kakao SDK,用于在网站上认证 Kakao 用户。
用 Kakao API 返回的授权码 换取一个 ID 令牌。
🌐 Exchange the authorization code returned by Kakao API for an ID Token.
例如,这段代码展示了如何获取 ID 令牌:
🌐 For example, this code shows a how to get ID Token:
1const requestUrl = new URL(request.url);2const code = requestUrl.searchParams.get('code');34if (code) {5 const res = await fetch('https://kauth.kakao.com/oauth/token', {6 method: 'POST',7 headers: {8 'Content-Type': 'application/x-www-form-urlencoded;charset=utf-8',9 },10 body: new URLSearchParams({11 grant_type: 'authorization_code',12 client_id: '<CLIENT_ID>',13 redirect_uri: '<url>/api/auth/kakao/oidc',14 code,15 client_secret: '<CLIENT_SECRET>',16 }),17 });1819 const {id_token} = await res.json();20}使用 ID 令牌登录:
🌐 Use the ID Token to sign in:
1const res = await auth.signInWithIdToken({2 provider: 'kakao',3 token: id_token,4});配置 #
🌐 Configuration
- 在 Kakao Developers 门户的 OpenID Connect 激活 下将 状态 设置为“开启”。
- 在 scope 中添加
openid,以及你希望获取同意的范围值。
资源 #
🌐 Resources