用 Notion 登录
要为你的项目启用 Notion 授权,你需要设置一个 Notion 应用,并将应用的 OAuth 凭证添加到你的 Supabase 仪表板。
🌐 To enable Notion Auth for your project, you need to set up a Notion Application and add the Application OAuth credentials to your Supabase Dashboard.
概览 #
🌐 Overview
为你的应用设置 Notion 登录分为三部分:
🌐 Setting up Notion logins for your application consists of 3 parts:
- 创建并配置一个 Notion 应用 Notion 开发者门户
- 获取你的 OAuth 客户端 ID 和 OAuth 客户端密钥,然后将它们添加到你的 Supabase 项目
- 将登录代码添加到你的 Supabase JS 客户端应用
创建你的 Notion 集成 #
🌐 Create your notion integration
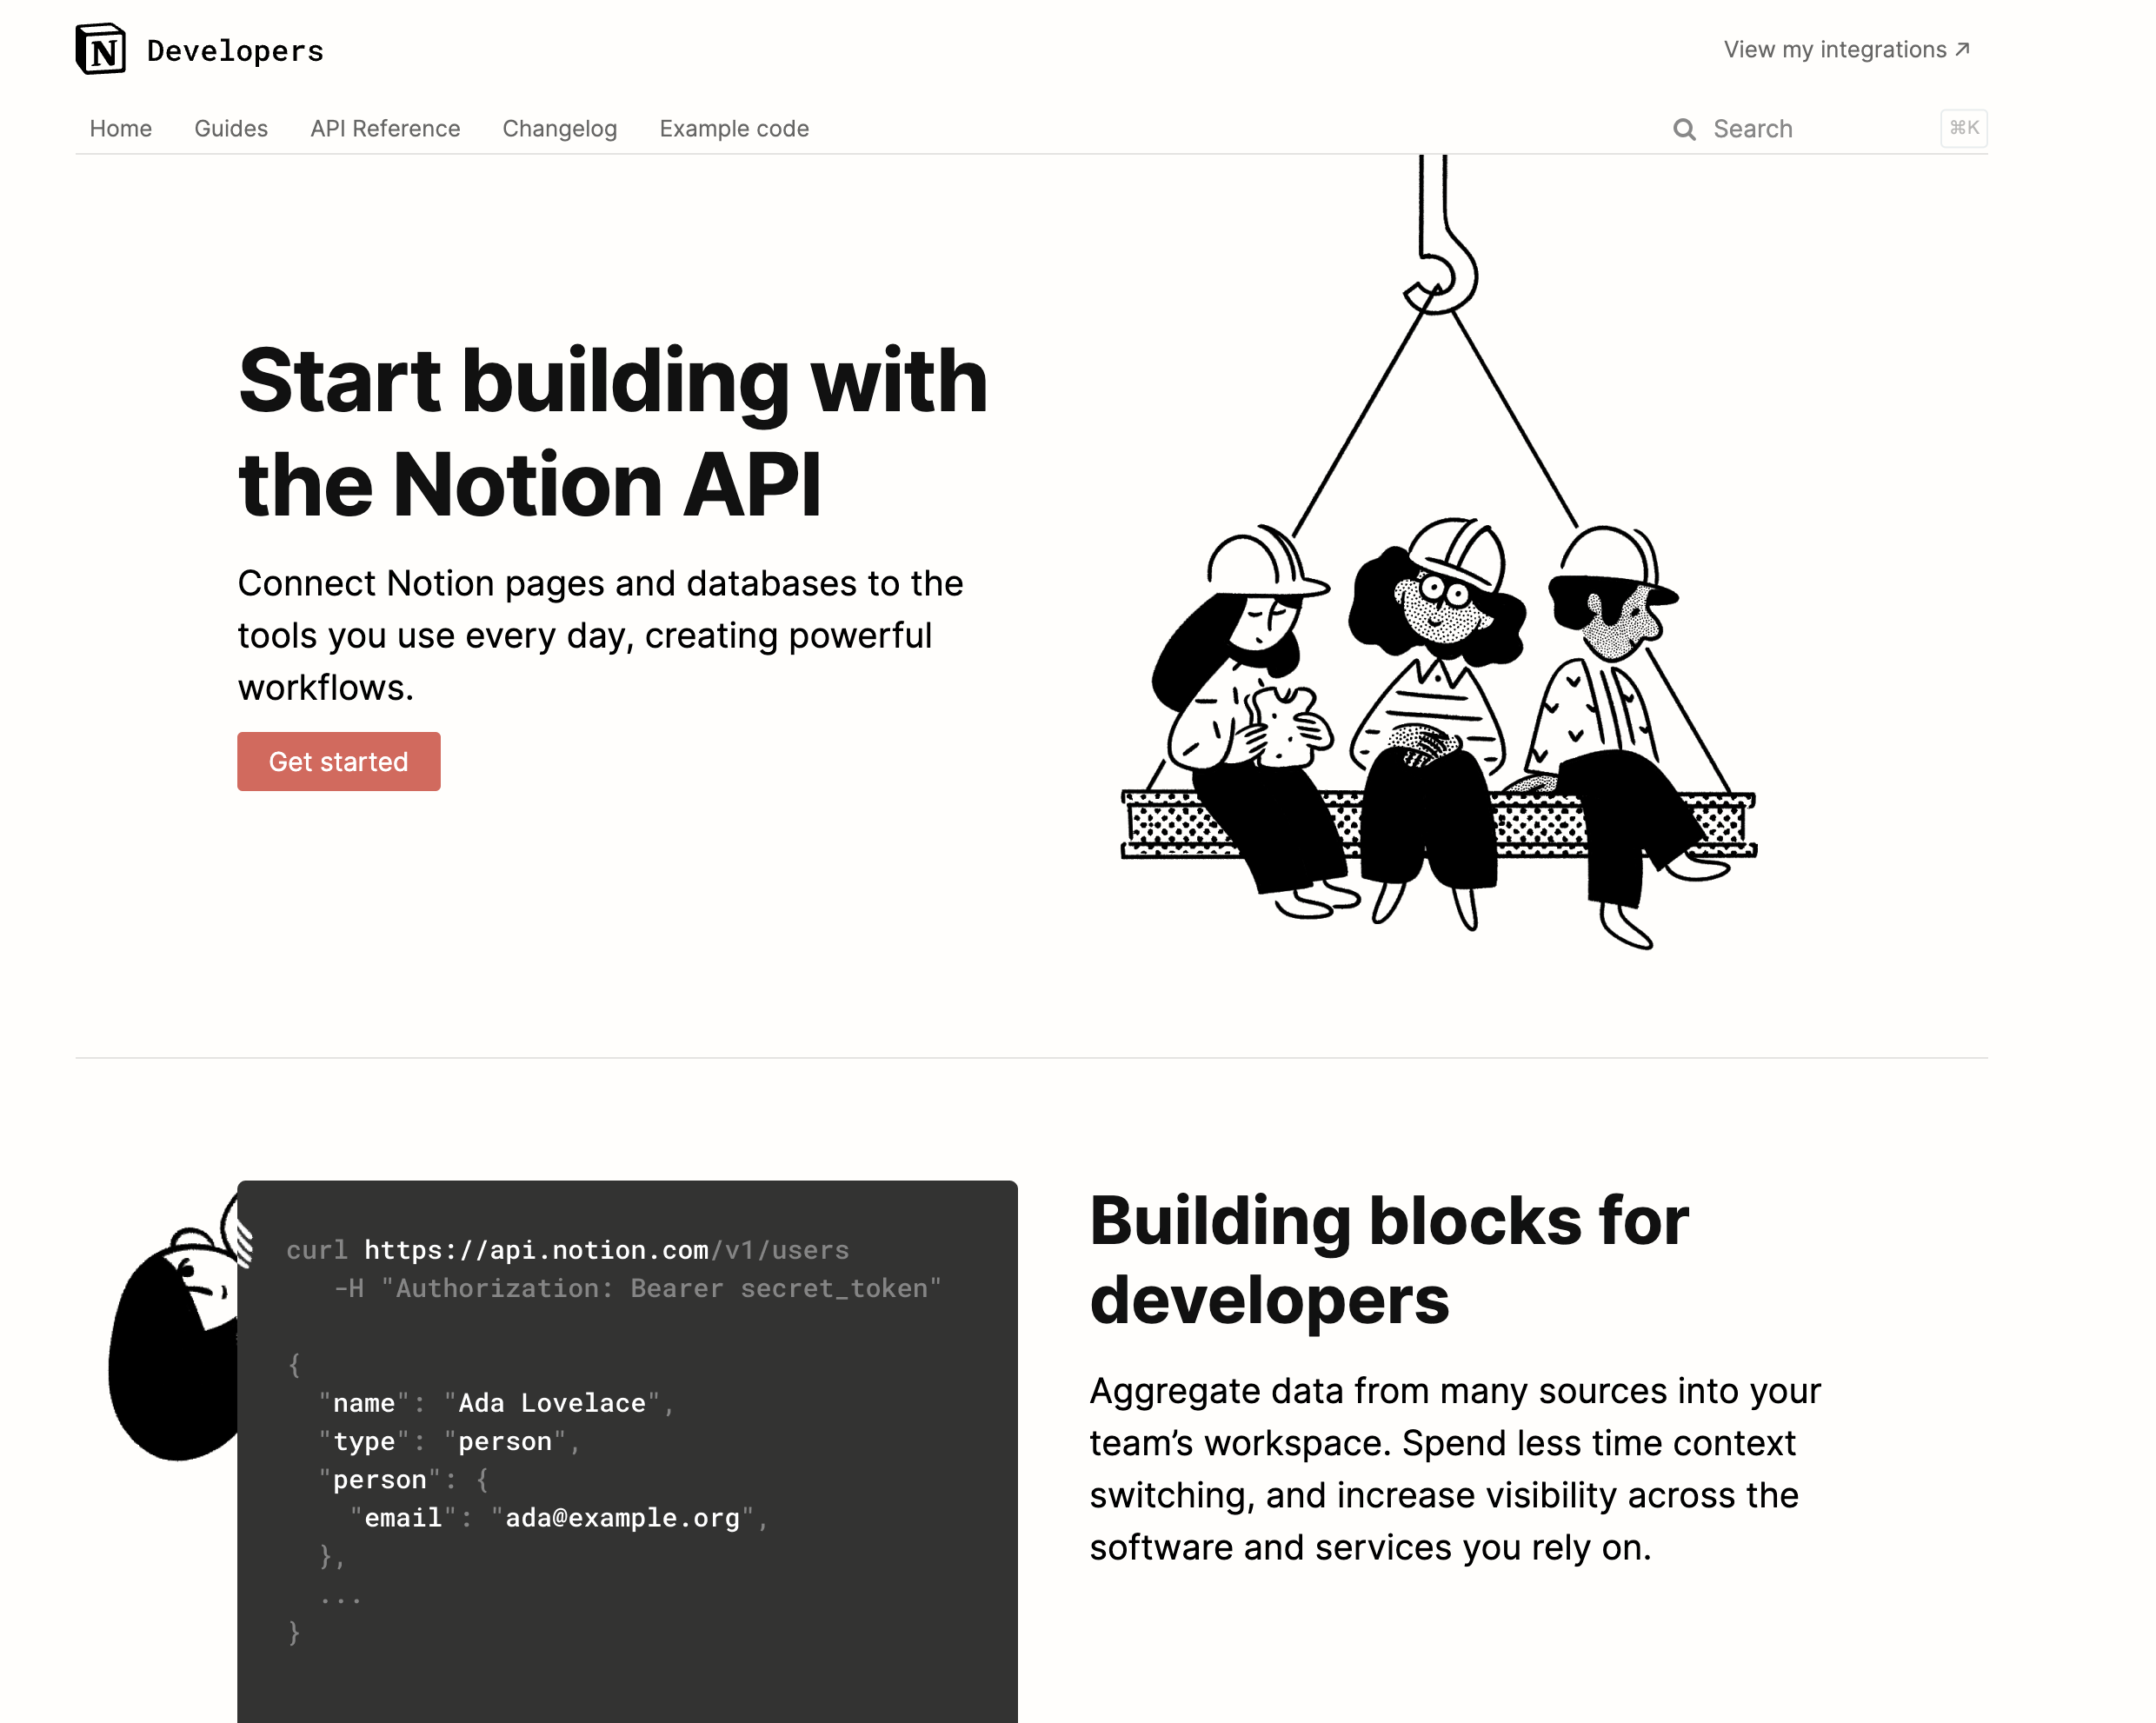
- 访问 developers.notion.com。
- 点击“查看我的集成”并登录。
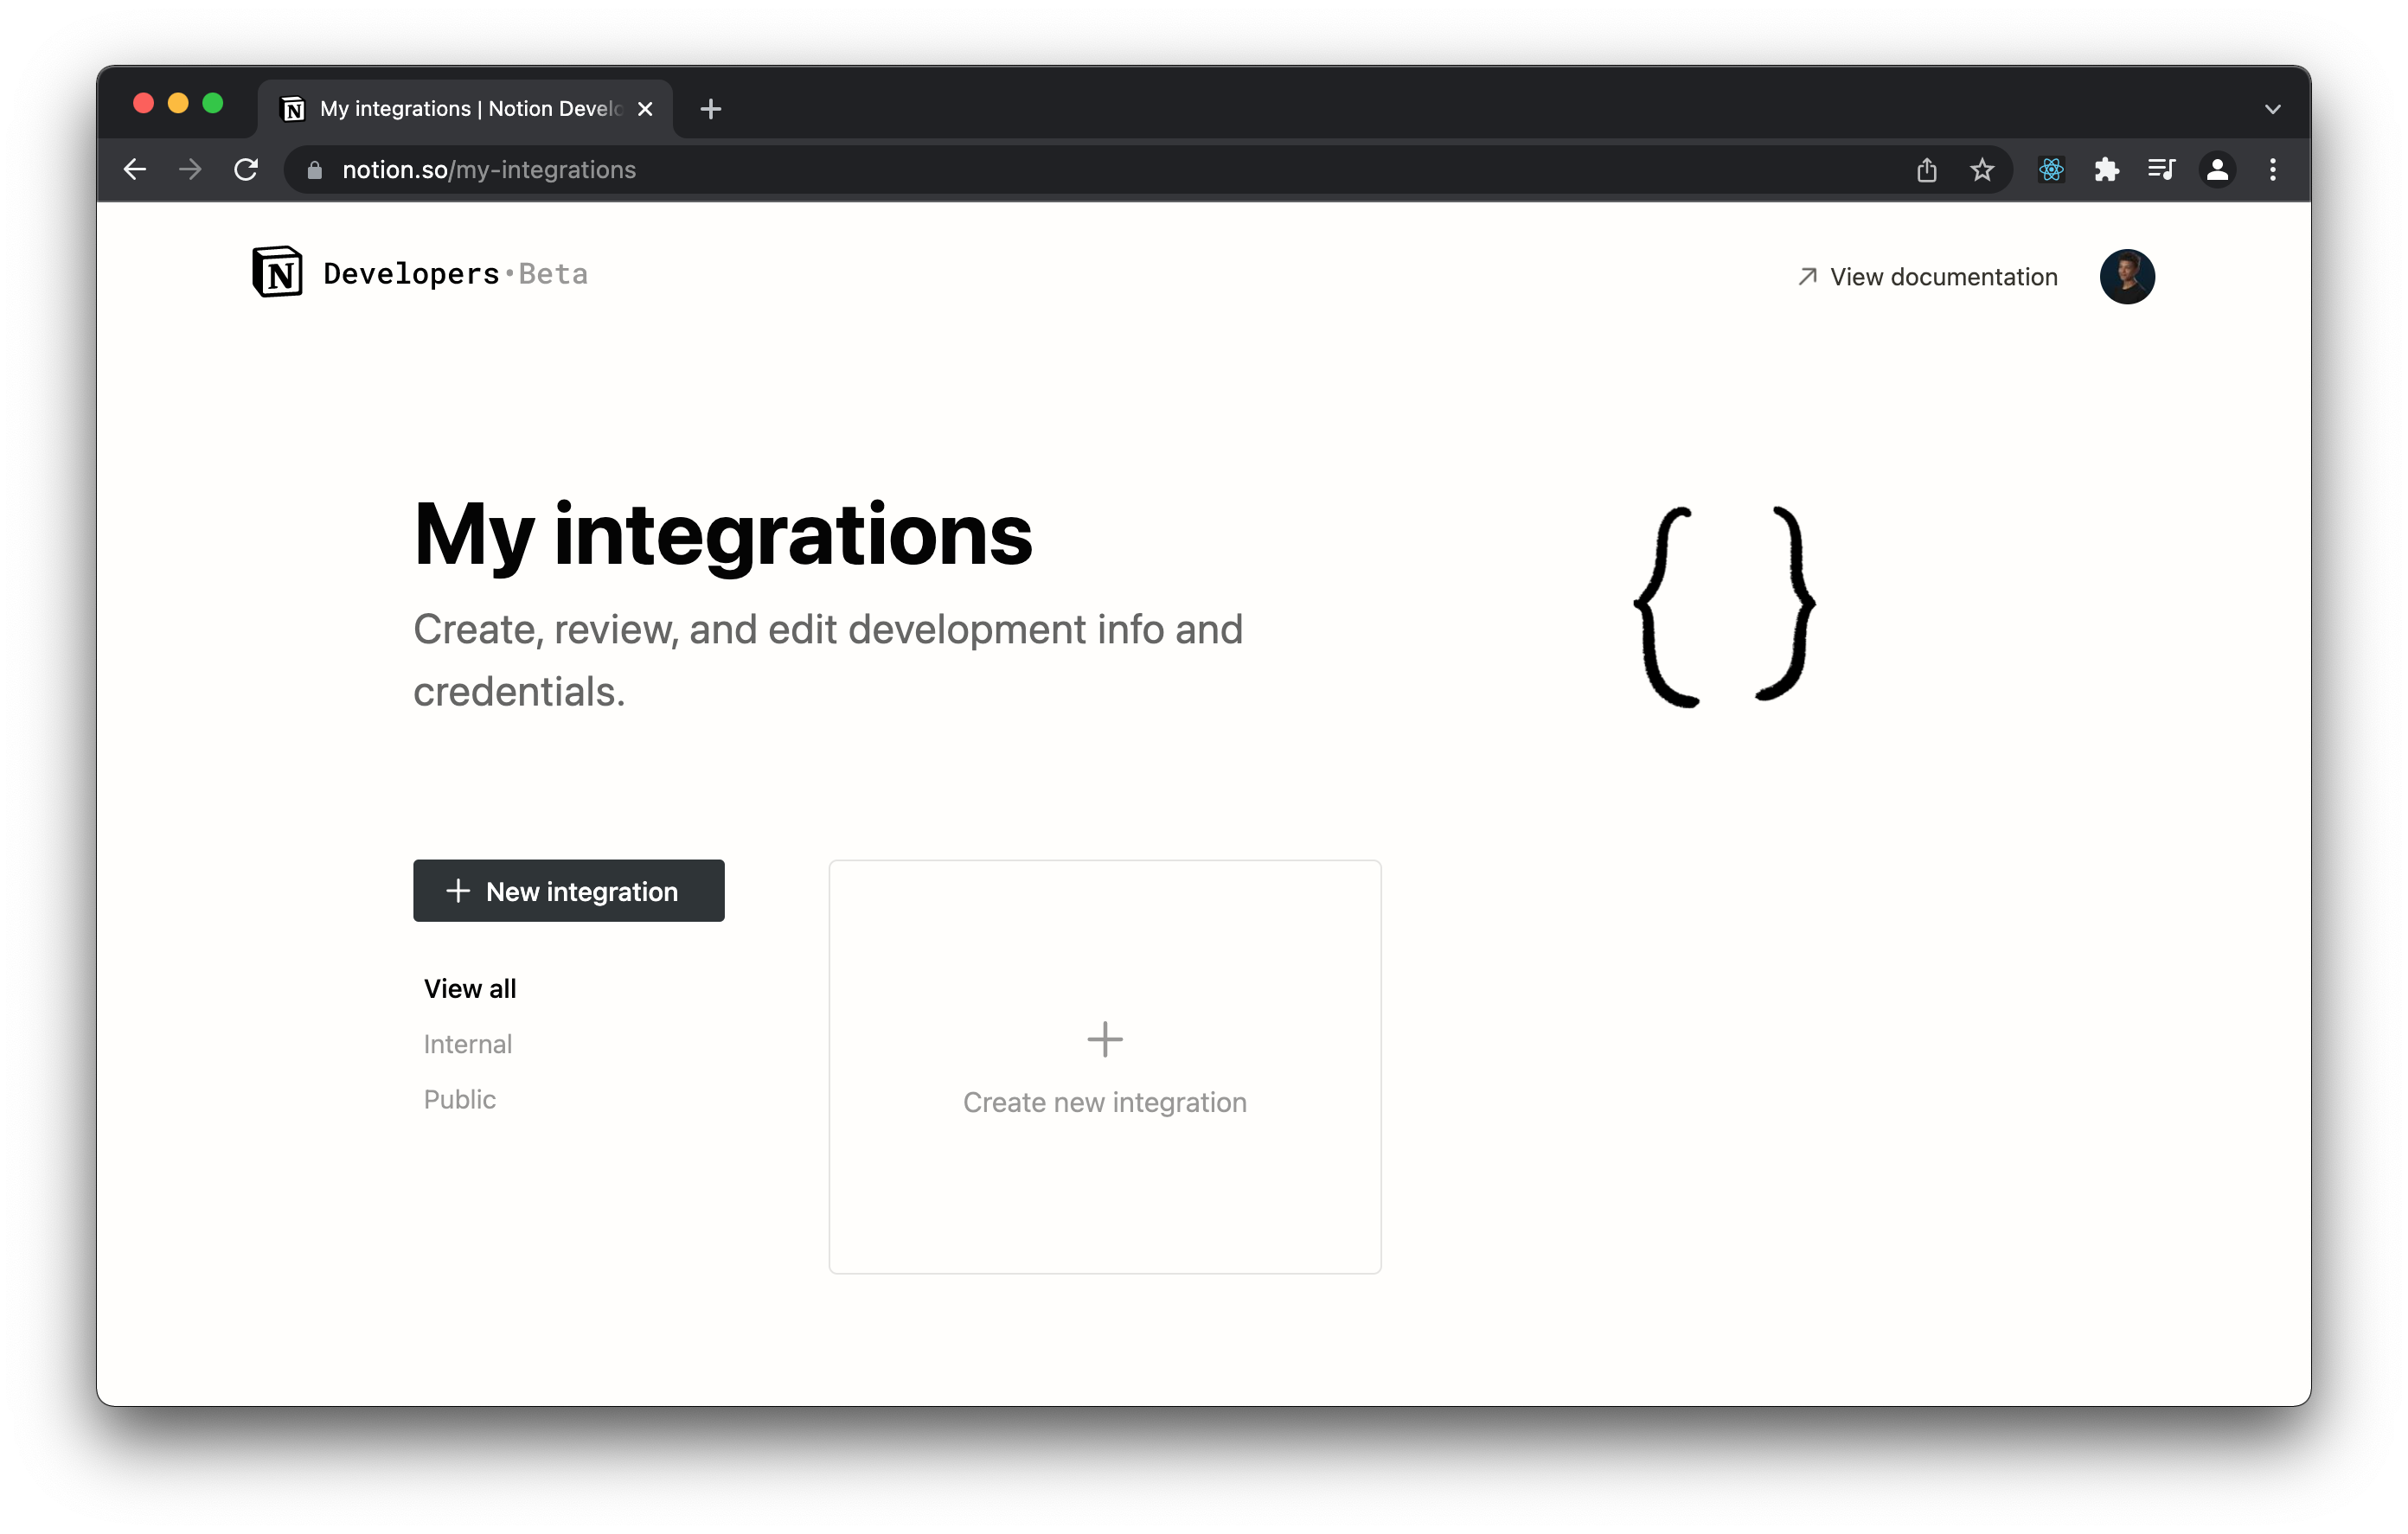
- 登录后,前往 notion.so/my-integrations 并创建一个新的集成。
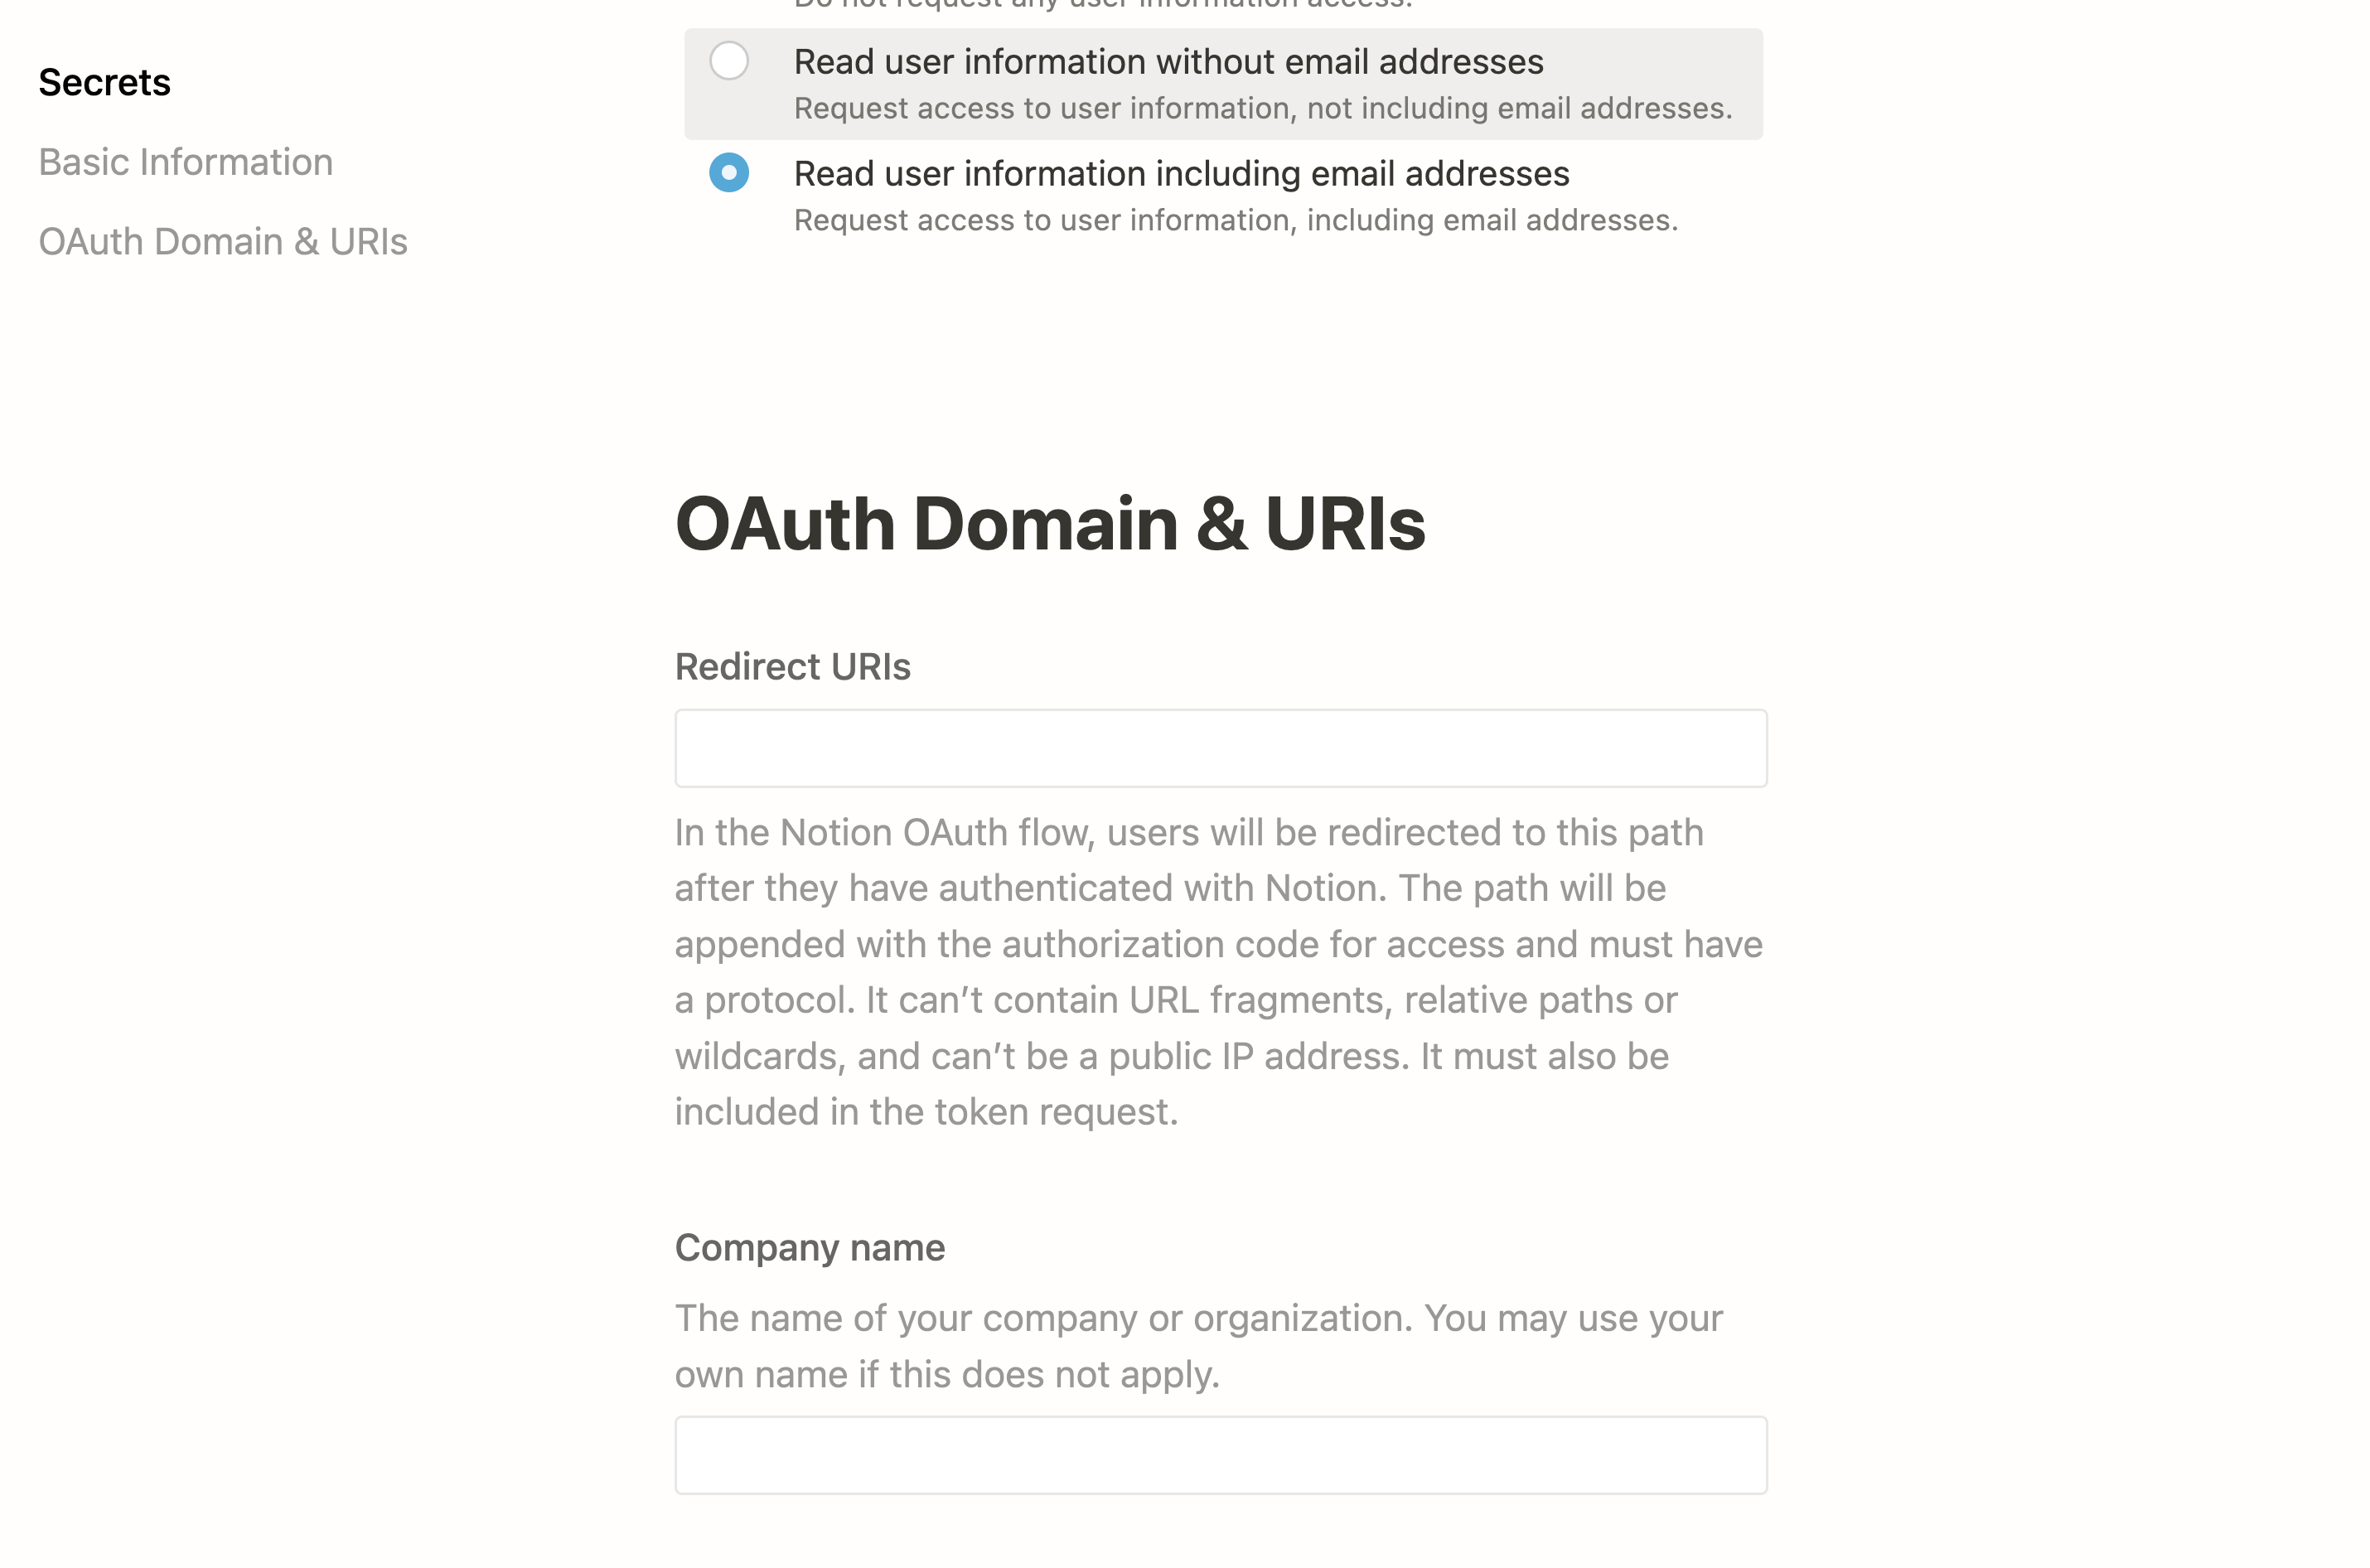
- 在创建集成时,请确保在“集成类型”下选择“公共集成”,并在“功能”下选择“读取用户信息,包括电子邮件地址”。
- 你需要添加一个重定向 URI,见 添加重定向 URI
- 填写完必要的字段后,点击“提交”完成集成创建。
添加重定向 URI #
🌐 Add the redirect URI
- 选择“公共集成”后,你应该会看到一个添加“重定向 URI”的选项。
下一步需要一个回调 URL,看起来像这样:https://<project-ref>.supabase.co/auth/v1/callback
- 前往你的 Supabase 项目仪表板
- 点击左侧边栏的
Authentication图标 - 在配置部分点击
Sign In / Providers - 点击手风琴列表中的 Notion 展开,你就会找到你的 回调 URL,你可以点击
Copy将其复制到剪贴板
本地开发 #
🌐 Local development
在本地使用 Supabase CLI 测试 OAuth 时,确保你的 OAuth 提供商已配置本地 Supabase Auth 回调 URL:
🌐 When testing OAuth locally with the Supabase CLI, ensure your OAuth provider is configured with the local Supabase Auth callback URL:
http://localhost:54321/auth/v1/callback
如果这个回调 URL 缺失或配置错误,OAuth 登录可能会失败,或者在本地开发时无法正确跳转。
🌐 If this callback URL is missing or misconfigured, OAuth sign-in may fail or not redirect correctly during local development.
有关更多详情,请查看本地开发文档。
🌐 See the local development docs for more details.
要在本地使用 Supabase CLI 测试 OAuth,请参阅本地开发文档。
🌐 For testing OAuth locally with the Supabase CLI see the local development docs.
把你的 Notion 凭证添加到你的 Supabase 项目里 #
🌐 Add your Notion credentials into your Supabase project
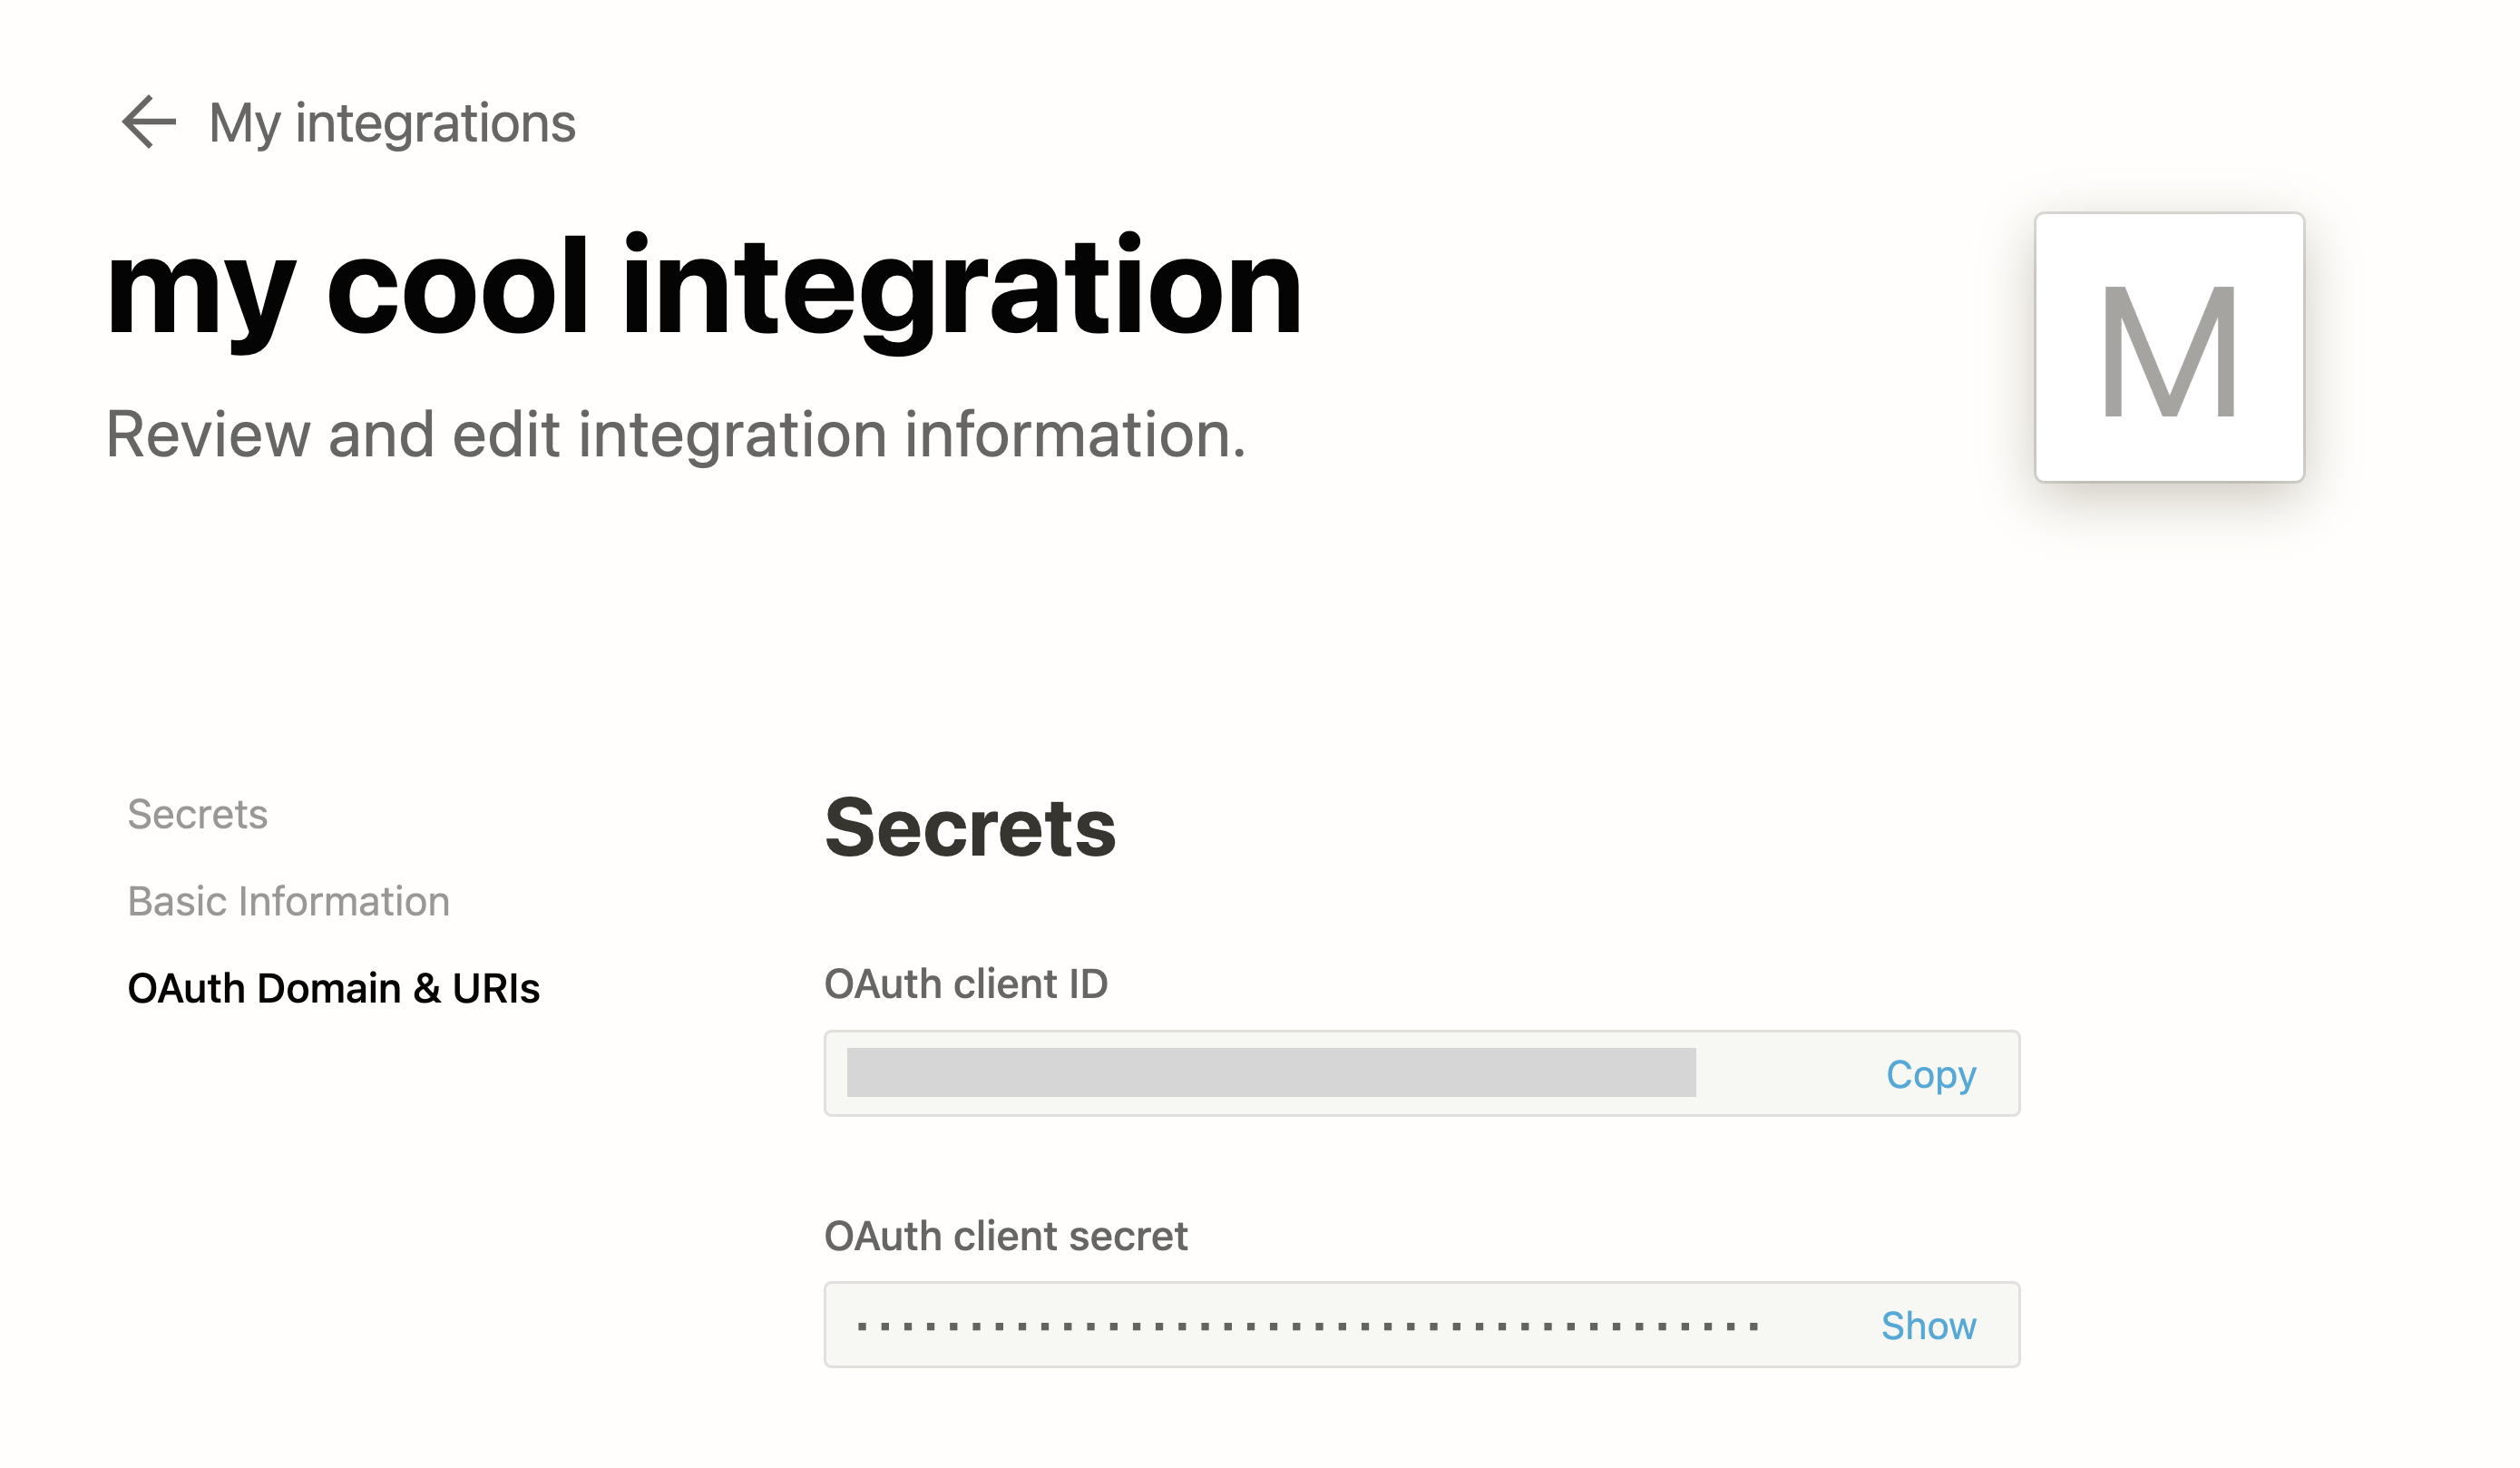
- 一旦你创建了你的 Notion 集成,你应该能够从“OAuth 域和 URI”标签中获取“OAuth 客户端 ID”和“OAuth 客户端密钥”。
- 前往你的 Supabase 项目仪表板
- 在左侧边栏,点击
Authentication图标(靠近顶部) - 在配置部分点击
Providers - 从手风琴列表中点击 Notion 来展开,然后将 Notion 启用 切换为开启
- 输入你在上一步保存的 Notion 客户端 ID 和 Notion 客户端密钥
- 点击
Save
在你的客户端应用中添加登录代码 #
🌐 Add login code to your client app
确保你在以下代码中使用了正确的 supabase 客户端。
🌐 Make sure you're using the right supabase client in the following code.
如果你没有使用服务器端渲染或基于 Cookie 的认证,你可以直接从 @supabase/supabase-js 使用 createClient。如果你在使用服务器端渲染,请查看 服务器端认证指南 获取创建 Supabase 客户端的说明。
🌐 If you're not using Server-Side Rendering or cookie-based Auth, you can directly use the createClient from @supabase/supabase-js. If you're using Server-Side Rendering, see the Server-Side Auth guide for instructions on creating your Supabase client.
当你的用户登录时,用 notion 作为 provider 调用 signInWithOAuth() :
🌐 When your user signs in, call signInWithOAuth() with notion as the provider:
1import { createClient } from '@supabase/supabase-js'23const supabase = createClient('https://your-project-id.supabase.co', 'sb_publishable_...')45// ---cut---6async function signInWithNotion() {7 const { data, error } = await supabase.auth.signInWithOAuth({8 provider: 'notion',9 })10}以 PKCE 流程为例,比如在服务端认证中,你需要一个额外的步骤来处理代码交换。在调用 signInWithOAuth 时,提供一个指向回调路由的 redirectTo URL。这个重定向 URL 应该添加到你的 重定向允许列表 中。
🌐 For a PKCE flow, for example in Server-Side Auth, you need an extra step to handle the code exchange. When calling signInWithOAuth, provide a redirectTo URL which points to a callback route. This redirect URL should be added to your redirect allow list.
在浏览器中,signInWithOAuth 会自动重定向到 OAuth 提供商的认证端点,然后再重定向到你的端点。
🌐 In the browser, signInWithOAuth automatically redirects to the OAuth provider's authentication endpoint, which then redirects to your endpoint.
1import { createClient, type Provider } from '@supabase/supabase-js';2const supabase = createClient('https://your-project-id.supabase.co', 'sb_publishable_...')3const provider = 'provider' as Provider45// ---cut---6await supabase.auth.signInWithOAuth({7 provider,8 options: {9 redirectTo: `http://example.com/auth/callback`,10 },11})在回调端点,处理代码交换以保存用户会话。
🌐 At the callback endpoint, handle the code exchange to save the user session.
在 app/auth/callback/route.ts 创建一个新文件,并填入以下内容:
🌐 Create a new file at app/auth/callback/route.ts and populate with the following:
1import { NextResponse } from 'next/server'23// The client you created from the Server-Side Auth instructions4import { createClient } from '@/utils/supabase/server'56export async function GET(request: Request) {7 const { searchParams, origin } = new URL(request.url)8 const code = searchParams.get('code')9 // if "next" is in param, use it as the redirect URL10 let next = searchParams.get('next') ?? '/'11 if (!next.startsWith('/')) {12 // if "next" is not a relative URL, use the default13 next = '/'14 }1516 if (code) {17 const supabase = await createClient()18 const { error } = await supabase.auth.exchangeCodeForSession(code)19 if (!error) {20 const forwardedHost = request.headers.get('x-forwarded-host') // original origin before load balancer21 const isLocalEnv = process.env.NODE_ENV === 'development'22 if (isLocalEnv) {23 // we can be sure that there is no load balancer in between, so no need to watch for X-Forwarded-Host24 return NextResponse.redirect(`${origin}${next}`)25 } else if (forwardedHost) {26 return NextResponse.redirect(`https://${forwardedHost}${next}`)27 } else {28 return NextResponse.redirect(`${origin}${next}`)29 }30 }31 }3233 // return the user to an error page with instructions34 return NextResponse.redirect(`${origin}/auth/auth-code-error`)35}当你的用户注销时,调用 signOut() 来将他们从浏览器会话中移除,并清除 localStorage 中的任何对象:
🌐 When your user signs out, call signOut() to remove them from the browser session and any objects from localStorage:
1import { createClient } from '@supabase/supabase-js'23const supabase = createClient('https://your-project-id.supabase.co', 'sb_publishable_...')45// ---cut---6async function signOut() {7 const { error } = await supabase.auth.signOut()8}资源 #
🌐 Resources